8 DIY Dog Shoes In 10 Minutes (Easy)
As a pet lover with a house full of dogs, cats, and even rabbits, I’m always exploring new ways to keep my pets comfortable, safe, and happy. One project that has been incredibly fun and surprisingly useful is making DIY dog shoes. Whether it’s for protecting my dogs’ paws from hot pavement, sharp rocks, or icy sidewalks, dog shoes can really make a difference. Plus, making them yourself allows you to customize them perfectly for your dog’s size and personality—while saving a lot of money!
If you’ve ever found yourself worrying about your dog’s paws when you’re out for a walk, or if you’re just looking for a new, creative project, DIY dog shoes are the way to go. It’s an exciting, budget-friendly project, and your dog will appreciate the extra care you’re taking. Let’s dive into the world of making dog shoes at home, and I’ll walk you through the whole process.
Are Shoes Advisable for Dogs?
You might be wondering if dogs even need shoes. After all, they’re naturally equipped with paw pads that protect them from most of the surfaces they walk on, right? Well, yes and no. While dogs’ paws are resilient, they can still be sensitive to extreme conditions. Think about walking on hot pavement in the summer, navigating icy sidewalks in the winter, or hiking through rough terrain. Shoes can offer that extra layer of protection that keeps their paws safe from burns, cuts, or frostbite.
For dogs with injuries or sensitive paws, shoes are especially helpful. They provide support, prevent licking or chewing, and allow healing without interference. Shoes are also great for senior dogs who might need extra traction on slippery floors. Overall, shoes can be incredibly useful for specific situations, and making them yourself ensures they’re tailored to your dog’s needs.
DIY Dog Shoes: Step-by-Step Guide
Making your own dog shoes is a lot easier than it sounds, and the best part is that you can use materials you likely already have at home. Here’s a simple step-by-step guide to get you started.
Materials You’ll Need
- Soft fabric or fleece (for the inside lining)
- Durable fabric like canvas, denim, or faux leather (for the outer layer)
- Non-slip material like rubber or grip pads (for the sole)
- Elastic or Velcro straps (to secure the shoes)
- Scissors
- Needle and thread or a sewing machine
- Measuring tape
Instructions
- Measure Your Dog’s Paws: Start by measuring the width and length of your dog’s paws. This will help you create a shoe that fits snugly but comfortably. Make sure to measure both front and back paws, as they can sometimes be different sizes.
- Cut the Fabric: Using your measurements, cut out two pieces of fabric for each shoe—a soft inner lining and a durable outer layer. The shape should be roughly oval for the paw area with a slightly longer rectangle for the “sock” part that goes up the leg.
- Sew the Layers Together: Place the soft lining fabric on top of the durable outer fabric and sew them together along the edges. Make sure to leave the top open so your dog’s paw can slip inside.
- Attach the Sole: Cut out a piece of non-slip material for the sole and sew it onto the bottom of the shoe. This will give your dog better traction on slippery surfaces and protect their paws from rough terrain.
- Add Straps: To keep the shoes secure on your dog’s feet, attach elastic or Velcro straps around the ankle area. This ensures the shoes stay on without being too tight.
- Test the Fit: Once the shoes are finished, have your dog try them on. Adjust the fit as needed, and make sure the shoes are comfortable and don’t restrict movement.
This basic DIY dog shoe design costs about $10 to $15 to make, depending on the materials you already have at home. Plus, once you’ve made one pair, you’ll get faster and more creative with each new set!
Easy DIY Dog Shoes Ideas
Now that you know the basics, let’s get creative with some DIY dog shoe designs. These ideas are all budget-friendly, easy to make, and customizable for your dog’s needs.
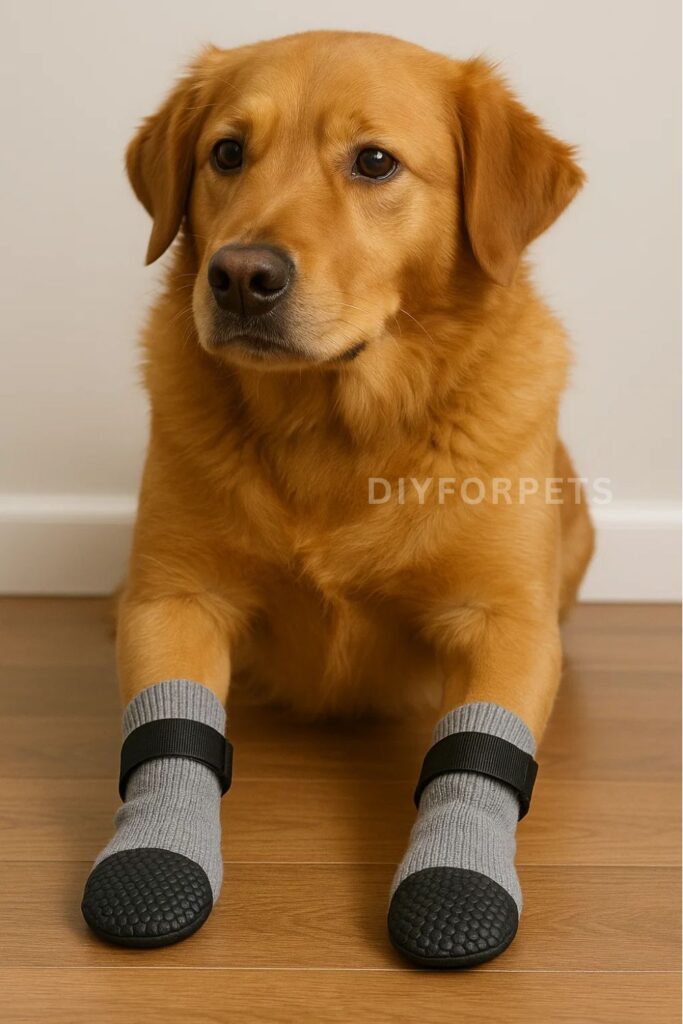
1. Sock-Based Dog Shoes
One of the easiest ways to make dog shoes is by using baby socks or toddler socks as the base. Socks are already soft and stretchy, making them a great fit for dog paws. Simply cut the sock to the right length, and attach a piece of non-slip rubber to the bottom for grip. Use Velcro straps around the ankle to keep them in place.
This project costs around $5 if you already have old socks at home, and it’s perfect for indoor use or for short outdoor walks on mild terrain.
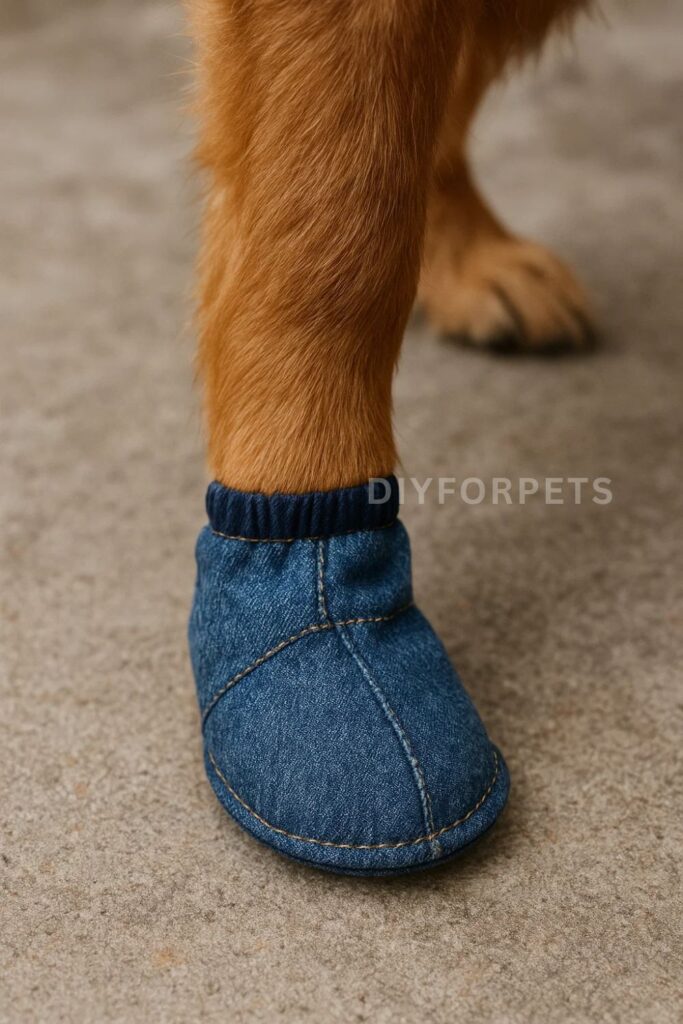
2. Denim Dog Shoes
If you’ve got an old pair of jeans lying around, repurpose the denim into durable dog shoes. Denim is tough enough to protect your dog’s paws from rough ground, but soft enough to be comfortable. Cut out four pieces of denim for the base and sole, and sew them together, adding elastic around the ankle to secure the shoes.
These shoes are great for outdoor adventures, and the cost is practically zero if you’re using old jeans. Plus, they have a cool, rugged look that’s perfect for adventurous pups.
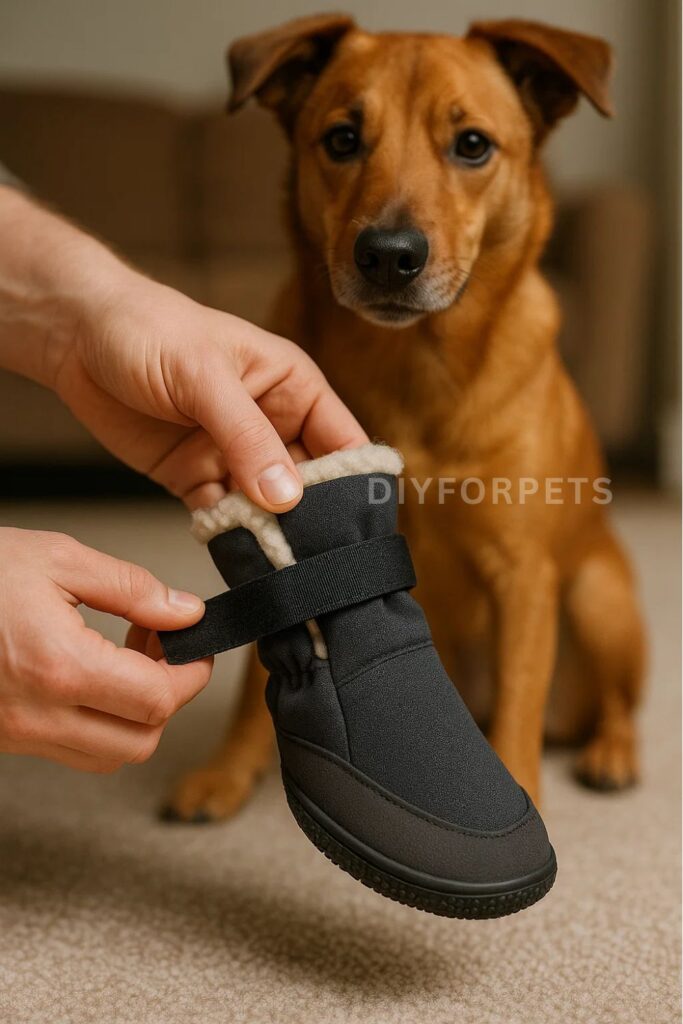
3. Fleece-Lined Winter Shoes
For those chilly winter walks, fleece-lined dog shoes are a must. Start by cutting out pieces of durable fabric for the outer layer, then line the inside with soft fleece for warmth. Add a non-slip rubber sole to prevent slipping on icy surfaces, and finish with Velcro straps to keep the shoes snug.
This project costs about $10 to $15 and is ideal for dogs that need protection from snow and ice. Your dog will appreciate the extra warmth, and you’ll love how easy it is to make.
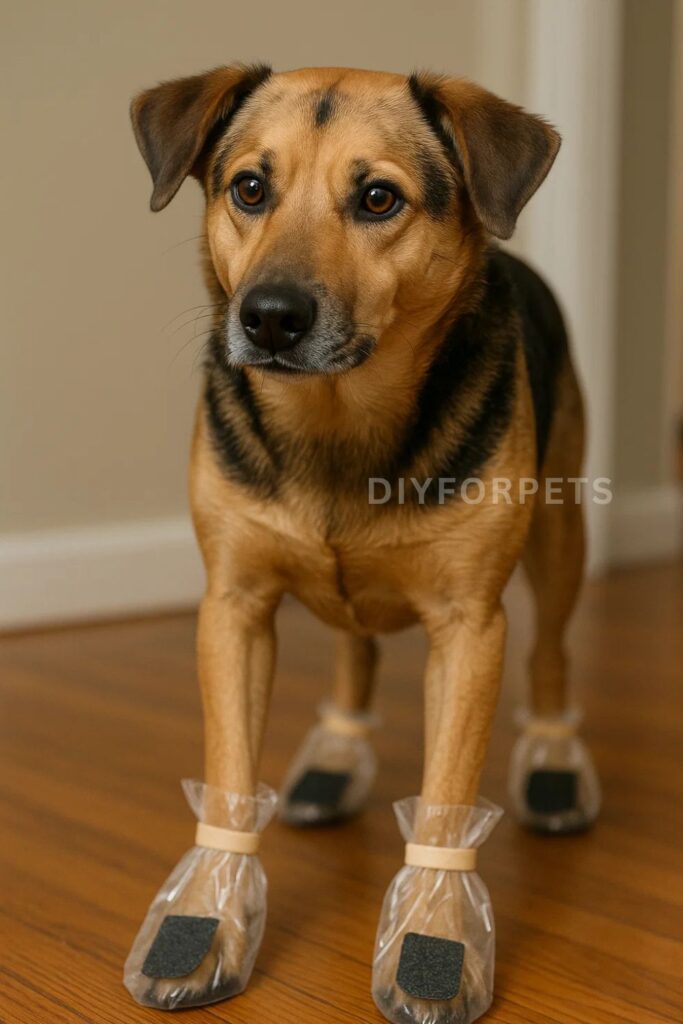
4. Reusable Plastic Bag Shoes
If you’re looking for a quick, disposable option for rainy days, you can create dog shoes using plastic bags. Simply wrap your dog’s paws in small plastic bags (like sandwich bags), then secure them with elastic bands or Velcro straps. For added grip, you can glue non-slip patches to the bottom.
This project costs virtually nothing and is perfect for rainy days when you want to protect your dog’s paws from mud and wet ground. It’s a simple, practical solution that’s great in a pinch.
5. Leather DIY Dog Shoes
For a more stylish and durable option, try making dog shoes out of faux leather or repurposing an old leather jacket. Cut the leather to fit your dog’s paws, sew on a rubber sole for traction, and add elastic or Velcro straps. These shoes are not only tough but also look sleek and fashionable.
This project costs about $15 to $20 if you need to buy leather, but it’s a great option for dogs that need extra protection on rugged terrain or during long walks.
6. Upcycled Canvas Shoes
Canvas is a sturdy material that works well for dog shoes. If you have an old canvas tote bag or jacket, cut it up and use the fabric to create protective shoes for your dog. The canvas will hold up well on rough surfaces, and you can customize the design with colorful patches or paint.
This project costs around $10 if you need to buy additional materials, but it’s a fun and creative way to upcycle old items and make something useful for your dog.
7. Elastic Booties for Active Dogs
For active dogs that love to run and play, elastic booties provide flexibility and protection. Use a stretchy fabric like spandex for the base of the shoe, and add a rubber sole for grip. These booties allow for maximum movement while still protecting your dog’s paws from rough ground.
This project costs around $12 to make and is perfect for dogs that love outdoor activities like hiking or running.
Dos & Don’ts in DIY Dog Shoes
Dos:
- Do measure your dog’s paws carefully: A good fit is crucial to ensure the shoes are comfortable and don’t fall off during use.
- Do use non-slip soles: Always add a non-slip material to the bottom of the shoes to give your dog better traction and prevent slipping on wet or icy surfaces.
- Do test the shoes before long use: Let your dog wear the shoes for short periods to make sure they’re comfortable before heading out for long walks.
Don’ts:
- Don’t make the shoes too tight: Tight shoes can restrict movement and circulation. Make sure there’s enough room for your dog’s paws to move naturally.
- Don’t use materials that aren’t breathable: Avoid plastic or other non-breathable materials for everyday use, as they can make your dog’s paws sweaty and uncomfortable.
- Don’t forget to secure the shoes properly: Always use elastic or Velcro to keep the shoes in place and prevent them from falling off during walks.
FAQs
1. How do I know if my dog needs shoes?
Dogs may need shoes if they’re frequently walking on hot pavement, icy sidewalks, or rough terrain. Shoes can also be helpful for senior dogs or dogs with sensitive paws.
2. How do I get my dog used to wearing shoes?
Start by letting your dog wear the shoes for short periods indoors. Use treats and positive reinforcement to help them associate the shoes with good experiences. Gradually increase the time they wear them, and take them outside once they’re comfortable.
3. Can I use any fabric to make dog shoes?
It’s best to use durable, breathable fabrics like canvas, denim, or fleece. Always add a non-slip sole to the bottom of the shoes for better traction.
Making DIY dog shoes is such a fun and rewarding project, and your dog will love the extra protection and comfort they provide. Whether you’re crafting shoes for outdoor adventures, winter walks, or just to keep their paws clean on rainy days, the possibilities are endless. Plus, the creative process of making something special for your dog is so satisfying! So grab some materials, get crafty, and make a pair of shoes that your dog will proudly strut around in. Happy crafting!