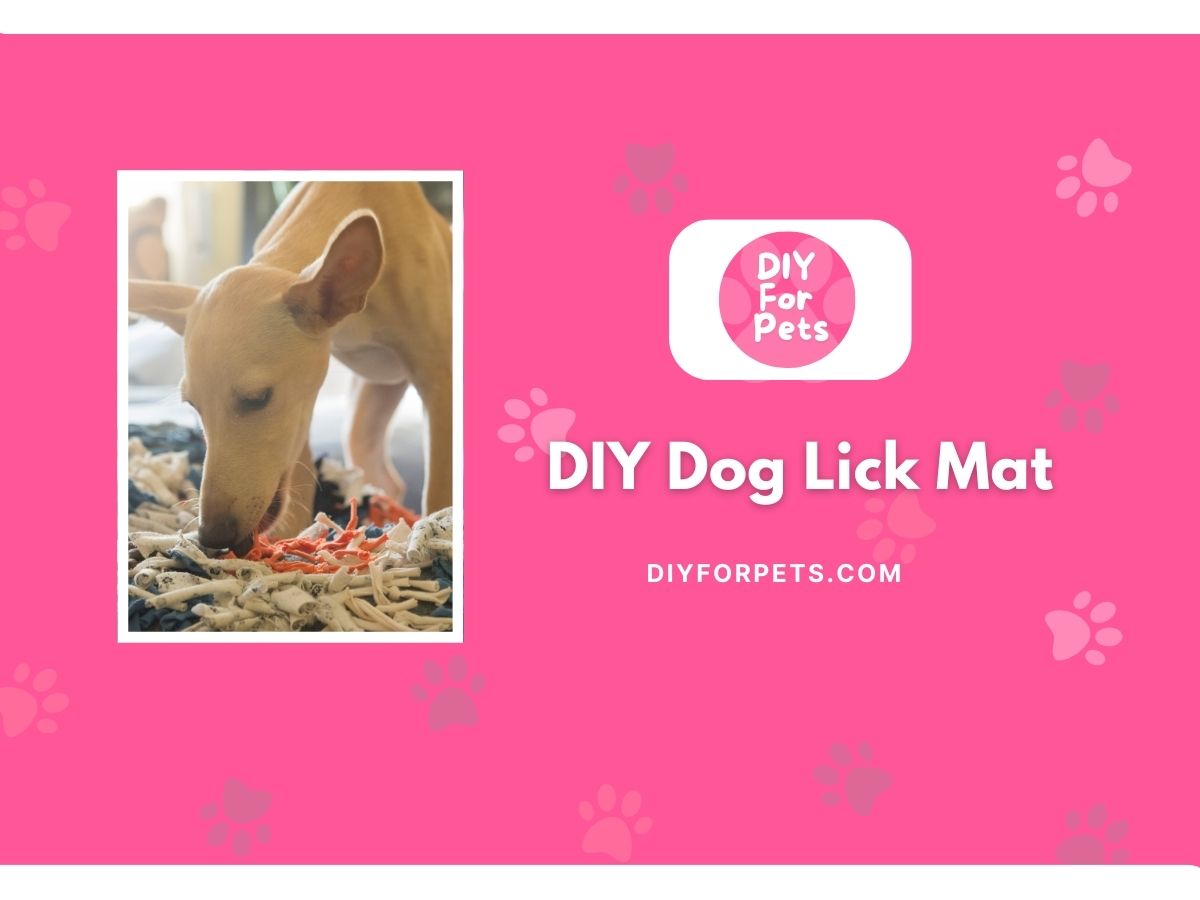
11 DIY Dog Lick Mat Ideas (A Fun Project Under $10)
There’s something incredibly satisfying about creating items that not only keep my pets entertained but also contribute to their well-being. In my house, with a mix of dogs, cats, and rabbits, keeping everyone occupied can be a bit of a challenge! But one of my favorite discoveries has been the dog lick mat—a simple, engaging, and surprisingly calming tool for my pups. I quickly realized I could make my own version of these mats at home, saving money and customizing them based on what my dogs enjoy the most. If you love a good DIY project and want to enrich your dog’s day in a fun and budget-friendly way, let’s dive into making your very own DIY dog lick mat.
Why Do Dogs Need a Lick Mat?
If you’ve never used a lick mat before, you might be wondering what all the fuss is about. A lick mat isn’t just a fun treat dispenser; it serves several purposes that benefit both you and your dog. For starters, it keeps your dog mentally stimulated. Dogs love to lick—it’s a soothing activity that releases endorphins and can help reduce anxiety, which is why lick mats are perfect for dogs who experience stress, whether it’s during a thunderstorm, fireworks, or just boredom when you’re out of the house.
Licking also promotes oral health. The repetitive licking action helps clean your dog’s tongue and reduce bad breath, while stimulating saliva production to break down food particles and reduce plaque buildup. And let’s be honest—anything that keeps your dog entertained and calm for a little while is a win in my book! Plus, the DIY aspect of making these lick mats means you can cater to your dog’s specific needs and preferences, making them the ultimate personalized enrichment tool.
DIY Dog Lick Mat: Step by Step
Materials Needed
Before we get started, here’s what you’ll need to create a basic DIY dog lick mat. Depending on the type of mat you want to make, the materials can vary, but these are the essentials:
- Silicone baking mat or placemat: $5–$10
- Peanut butter, yogurt, or dog-safe treats to spread: $2–$5
- Spatula or spoon: Already have this!
- Freezer (optional for freezing treats): Already have this!
The total cost of making a DIY lick mat is usually under $10, especially if you already have some of these materials on hand. Let’s walk through how to put it all together.
Phase 1: Choosing the Right Base
Start by selecting your base. A silicone baking mat or a silicone placemat works perfectly because they’re easy to clean and have a textured surface that allows you to spread treats in different patterns. You can also use a plastic cutting board or even a flat piece of textured rubber. Just make sure whatever you choose is non-toxic and easy for your dog to lick without damaging their tongue.
Phase 2: Preparing the Treats
Next, prepare your dog’s favorite treats. Peanut butter (unsalted and xylitol-free), plain yogurt, mashed sweet potato, or even blended fruits and veggies work well. Spread a thin layer of the treat onto the mat, making sure to press it into the textured surface so your dog has to work to lick it all off.
Phase 3: Freezing (Optional)
For an added challenge and to prolong the licking experience, you can freeze the mat for an hour or two. This makes the treats harder to lick off and keeps your dog occupied for longer. Freezing is especially great on hot days when you want to give your pup a refreshing, cooling treat.

Easy DIY Dog Lick Mat Ideas
Now that we’ve covered the basics, let’s explore some creative and easy-to-make DIY lick mat ideas. Each of these offers a fun twist on the standard lick mat and can be customized based on your dog’s preferences. You’ll be surprised how many variations you can create using simple ingredients and household items.
1. Peanut Butter & Banana Mat
One of my go-to combinations is peanut butter and banana. Mash a ripe banana and mix it with a bit of peanut butter, then spread it across the mat. This combo provides a tasty and nutritious treat. If you want to get fancy, slice a few banana rounds and press them into the mix for added texture.
This costs about $2–$3, depending on the ingredients, and is always a hit with my dogs!

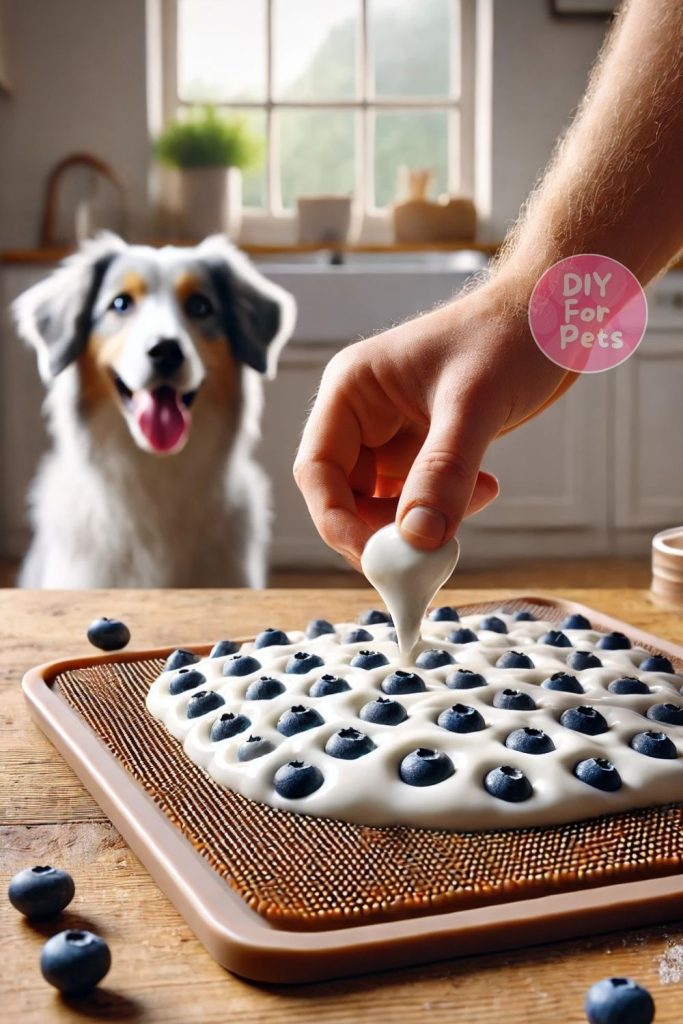
2. Yogurt & Blueberry Frozen Mat
For a refreshing treat, mix plain Greek yogurt with a handful of blueberries, then spread it over the mat. Pop it into the freezer for a few hours, and you’ll have a cold, creamy lick mat that’s perfect for warm days. Blueberries are full of antioxidants, making this not only tasty but healthy too.
This frozen treat costs around $3–$4 and lasts a while if frozen properly.
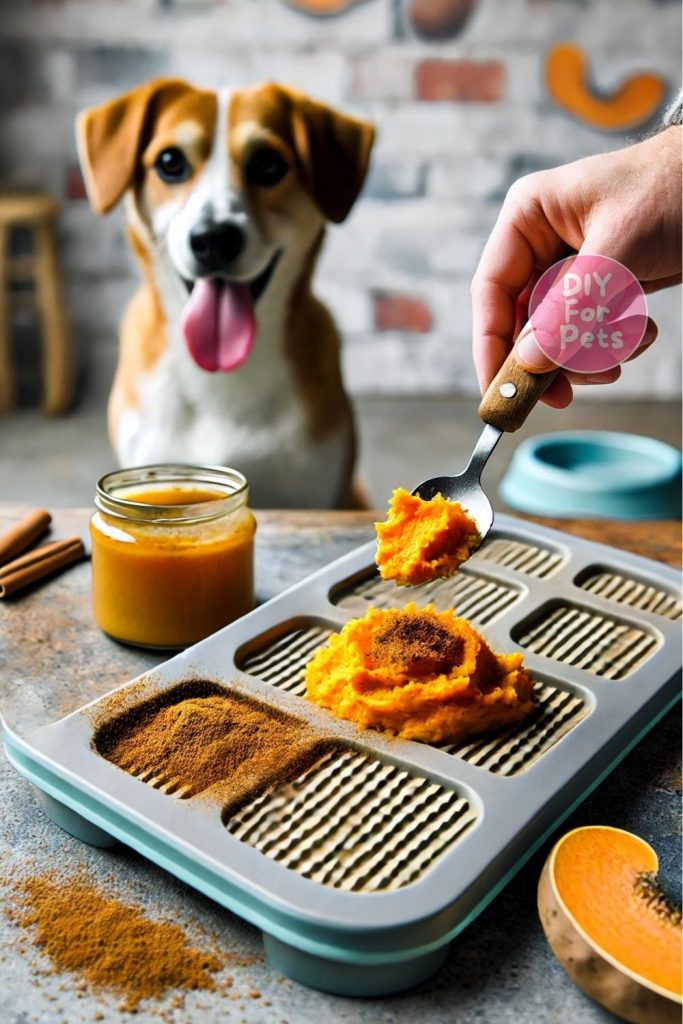
3. Sweet Potato & Pumpkin Mash
If your dog enjoys savory flavors, try mashing up some cooked sweet potato and pumpkin (canned pumpkin works too, just make sure it’s pure and unsweetened). Spread this earthy mash across the mat, and you can even sprinkle a bit of cinnamon for added flavor.
This homemade mash costs about $3, making it a budget-friendly, fiber-rich option.
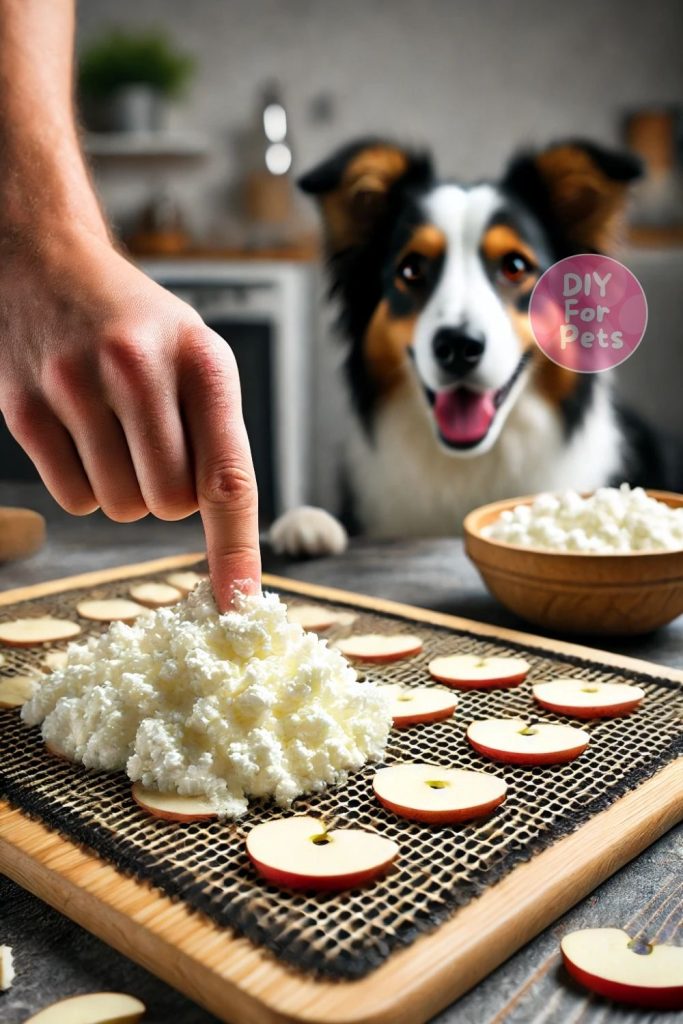
4. Cottage Cheese & Apple Slices
For dogs who love a mix of sweet and savory, spread a thin layer of cottage cheese on the mat, then press small pieces of apple into the mix. The apples provide crunch, while the cottage cheese adds creaminess and protein. Just make sure to avoid giving your dog apple seeds!
This fun combo costs about $3–$4 and provides a good balance of protein and vitamins.
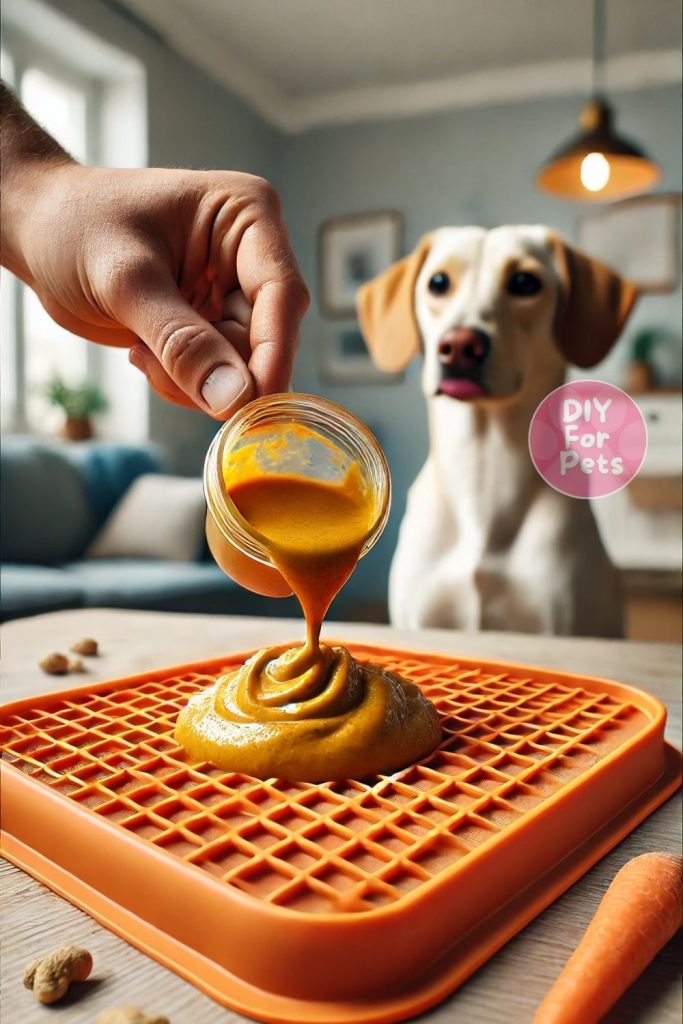
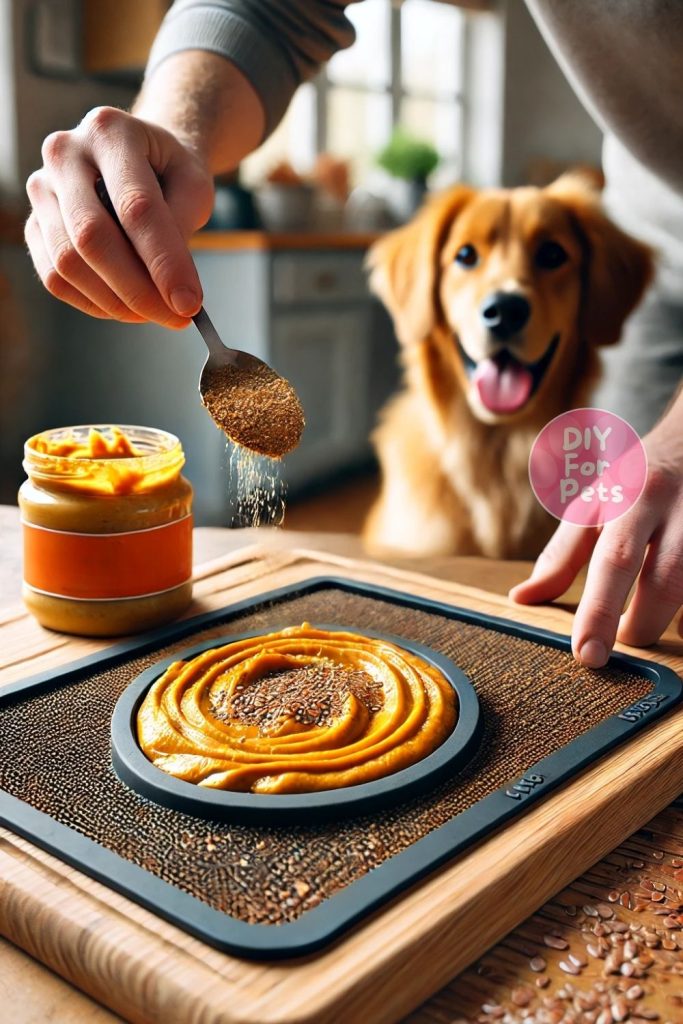
5. Carrot & Peanut Butter Crunch
Blend a few cooked carrots into a smooth puree and mix with a little peanut butter. Spread the mixture onto the mat, then freeze. The carrots add a sweet crunch and are packed with beta-carotene, which is great for your dog’s eyesight.
This recipe costs about $2 and is perfect for pups who love peanut butter but need some extra veggies in their diet.
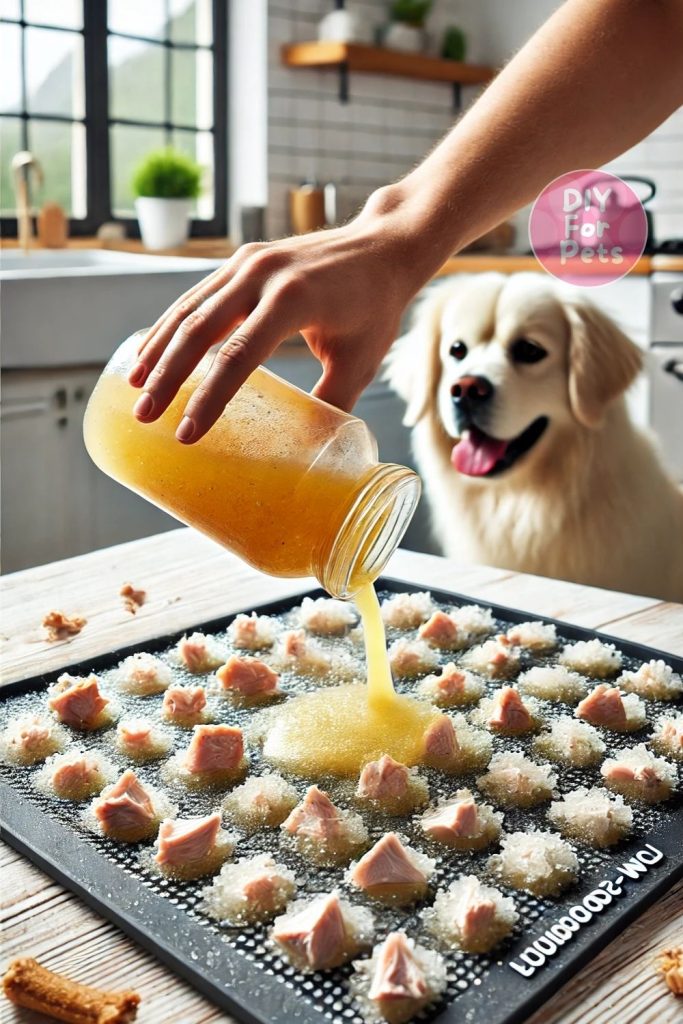
6. Frozen Chicken Broth Mat
For dogs who prefer savory treats, pour some low-sodium chicken broth onto the mat and freeze it. The broth becomes a slushy, frozen treat that your dog will love licking off. You can also add small pieces of boiled chicken to make it even more exciting.
This idea costs around $3 and is an excellent hydrating and cooling treat.
7. Peanut Butter & Pumpkin Mix
If your dog is a peanut butter fanatic, mix it with some canned pumpkin and spread it over the mat. Pumpkin is great for digestion, and the peanut butter makes it extra appealing. For added variety, sprinkle some ground flaxseed on top for extra fiber.
This treat costs about $2–$3 and is a fantastic option for dogs with sensitive stomachs.
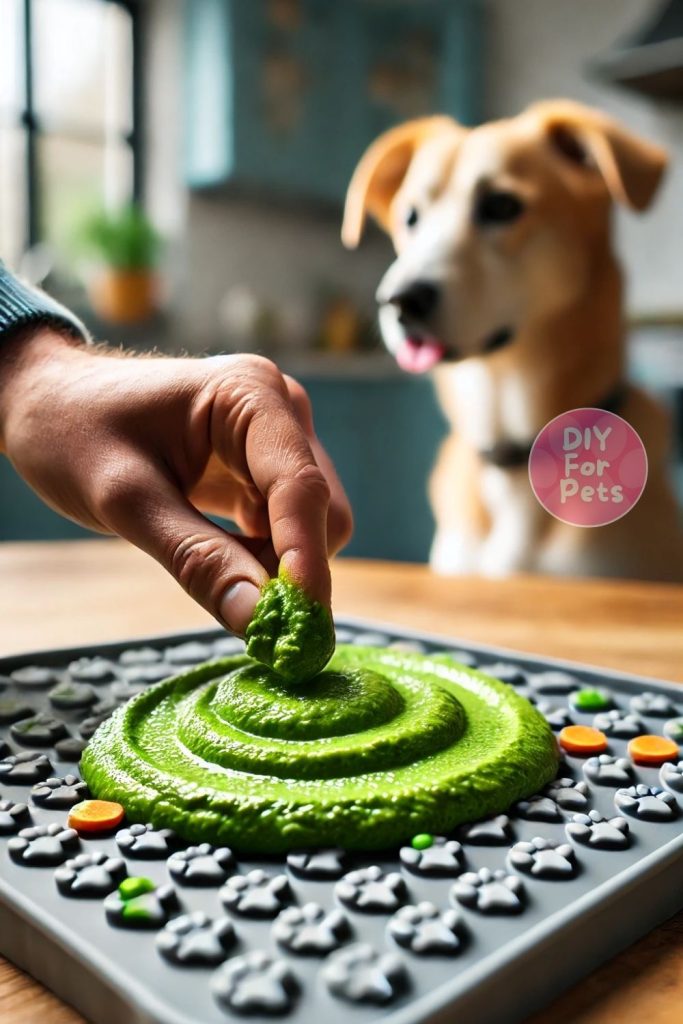
8. Blended Veggie Delight
If you want to sneak in some extra vegetables, blend together cooked peas, carrots, and spinach with a little water or chicken broth until smooth. Spread the puree onto the mat and freeze for a longer-lasting challenge.
This veggie-packed treat costs around $3 and is perfect for dogs who need a little extra nutrition in their diet.
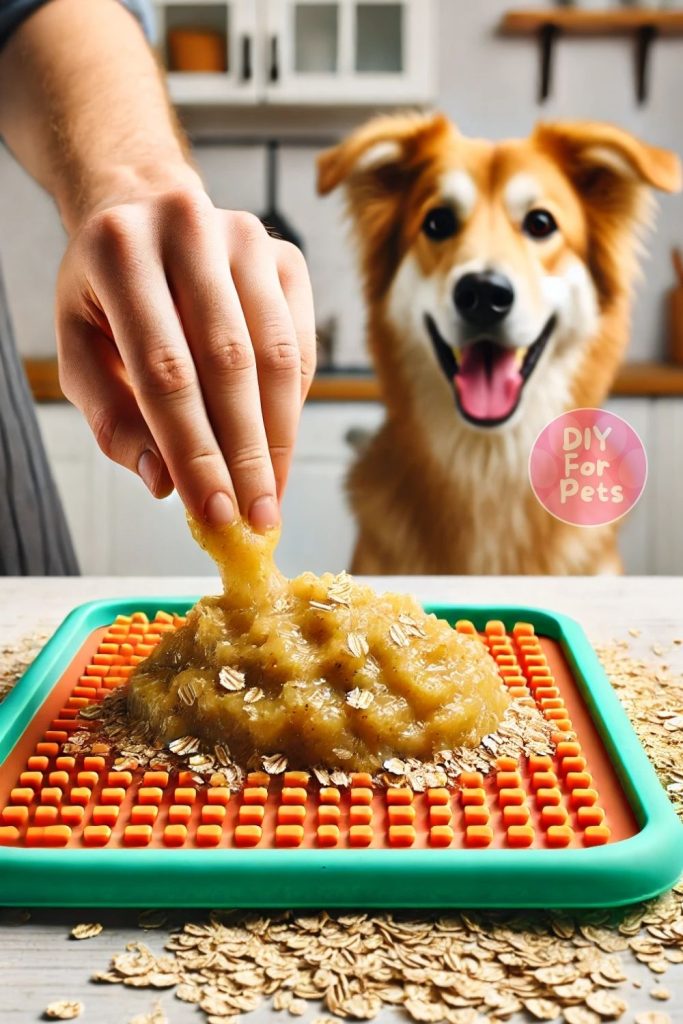
9. Applesauce & Oat Lick Mat
For a more dessert-like treat, mix some unsweetened applesauce with a tablespoon of oats. The oats provide extra texture, and the applesauce is naturally sweet and safe for dogs. Spread the mixture onto the mat and let your dog enjoy a crunchy, fruity snack.
This treat costs about $2 and offers a great way to introduce healthy grains into your dog’s diet.
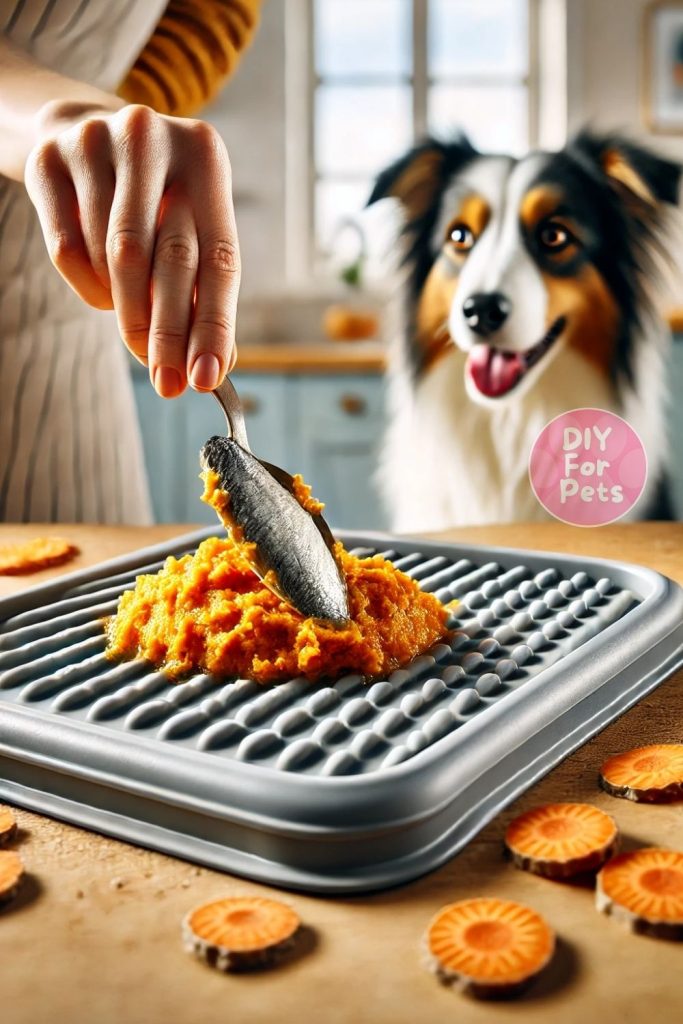
10. Sardine & Sweet Potato Smash
For fish-loving dogs, mix a can of sardines (in water, not oil) with mashed sweet potato and spread the savory blend over the mat. This idea is packed with omega-3s and healthy carbs, making it both tasty and nutritious.
This fishy favorite costs around $4 and is a high-protein, high-nutrient option for active dogs.
Dog Lick Mat Basics: Dos & Don’ts
- Do: Choose dog-safe ingredients like peanut butter (unsalted, no xylitol), yogurt (plain and unsweetened), and fruits and veggies (avoid toxic ones like grapes or onions).
- Do: Freeze the lick mat for a longer-lasting experience, especially during hot weather.
- Don’t: Overload the lick mat with too many ingredients. Keep it simple to avoid overwhelming your dog’s digestive system.
- Do: Clean the mat thoroughly after each use to prevent bacteria build-up, especially if using raw or cooked meats.
FAQs
1. Can any dog use a lick mat?
Yes! Lick mats are great for dogs of all ages and sizes. They’re particularly beneficial for dogs who experience anxiety or need extra mental stimulation.
2. What’s the best way to clean a DIY dog lick mat?
Most silicone-based mats can be easily rinsed with warm, soapy water. Some are even dishwasher-safe, making them simple to clean after use.
3. How often should I use a lick mat with my dog?
You can use a lick mat daily or as needed. It’s a great way to offer a calming activity or provide a special treat during moments of stress, like grooming or thunderstorms.
4. Are lick mats safe for puppies?
Yes! Lick mats are safe for puppies, as long as you use puppy-friendly ingredients and supervise them to ensure they’re not chewing on the mat itself.
Making a DIY dog lick mat is such a fun and rewarding project that offers so many benefits to your dog’s mental and physical health. Whether you’re using peanut butter, pumpkin, or chicken broth, the possibilities are endless for creating delicious and nutritious combinations. So, grab your silicone mat, get creative with ingredients, and watch your dog enjoy every lick!