
5 DIY Dog Jerky Treats To Make At Home
There’s something incredibly satisfying about making treats for my dogs from scratch, especially when I know exactly what goes into them. I have a busy house full of pets—dogs, cats, and rabbits—and I’m always looking for ways to keep everyone healthy and happy. One of the most fun (and delicious) DIY projects I’ve taken on is making dog jerky. Not only is it super easy and budget-friendly, but it also gives me peace of mind knowing that there are no added preservatives, artificial flavors, or hidden ingredients. Plus, my dogs go absolutely nuts for these chewy, savory treats!
If you’ve ever wondered how to make your own dog jerky at home, I’m here to walk you through it. It’s a rewarding process, and trust me, your furry friend will thank you!
Why DIY Dog Jerky Is a Game Changer
We’ve all seen those pricey dog treats in stores, and while many of them look great, they can add up quickly. Making your own dog jerky isn’t just about saving money (although that’s a big plus), it’s about being in control of what your dog eats. I love knowing that I can choose high-quality ingredients, keep things simple, and tailor the flavors to my dog’s preferences. And since I have a full house of pets, DIY treats are a great way to spoil them without breaking the bank!
DIY Dog Jerky: Step by Step
Materials Needed
Let’s start by gathering the basics. You won’t need much for this project, and chances are you already have most of the tools in your kitchen:
- Meat (lean cuts of chicken, beef, turkey, or fish): $5–$10 per pound
- Sharp knife: Already have this!
- Baking sheet and oven or dehydrator: Already have these!
- Parchment paper: $1–$3
- Marinade ingredients (optional): Varies, depending on what you have on hand (herbs, olive oil, etc.)
That’s it! For about $10–$20, you can make a large batch of jerky that will last your dog for weeks. Let’s walk through the process.
Phase 1: Choosing the Right Meat
First, select the type of meat you want to use. The best options for dog jerky are lean cuts of chicken, beef, turkey, or even fish. I like to go for lean chicken breasts or turkey because they’re easier to slice and low in fat. For those of you who want to try something a little different, beef liver or white fish are great alternatives too.
Make sure to avoid any fatty cuts, as the fat doesn’t dehydrate well and can spoil faster. The goal is to keep things as simple and natural as possible, so skip the seasoning (unless it’s dog-friendly) and focus on the quality of the meat.
Phase 2: Prepping the Meat
Once you’ve chosen your meat, it’s time to prep. Start by slicing the meat into thin, even strips—about ¼ inch thick. The thinner the slices, the quicker and more evenly they’ll dehydrate. If your dog prefers a chewier texture, you can cut the slices a bit thicker, but keep in mind that they’ll take longer to dry.
If you want to add a little extra flavor, you can marinate the meat in a simple dog-friendly marinade. I like to use a bit of olive oil with a pinch of turmeric or parsley, which are safe for dogs and add a little antioxidant boost. Just make sure to avoid any harmful ingredients like salt, garlic, or onions.
Phase 3: Dehydrating the Meat
Now for the fun part—drying the meat! If you have a dehydrator, this is the easiest method. Set the dehydrator to around 150°F and let the meat dry for 6–8 hours, or until it’s fully dehydrated and chewy but not brittle. If you’re using an oven, place the meat strips on a baking sheet lined with parchment paper and bake them at the lowest temperature setting (around 170°F) for 4–6 hours. Be sure to flip the strips halfway through to ensure even drying.
Once the jerky is done, let it cool completely before giving it to your dog. Store the jerky in an airtight container in the fridge, where it’ll last for up to two weeks. You can also freeze it to extend its shelf life.

4 Easy DIY Dog Jerky Ideas
Now that you know the basic steps, let’s get creative with some fun and easy DIY dog jerky recipes. Each of these ideas is affordable, customizable, and simple to make.
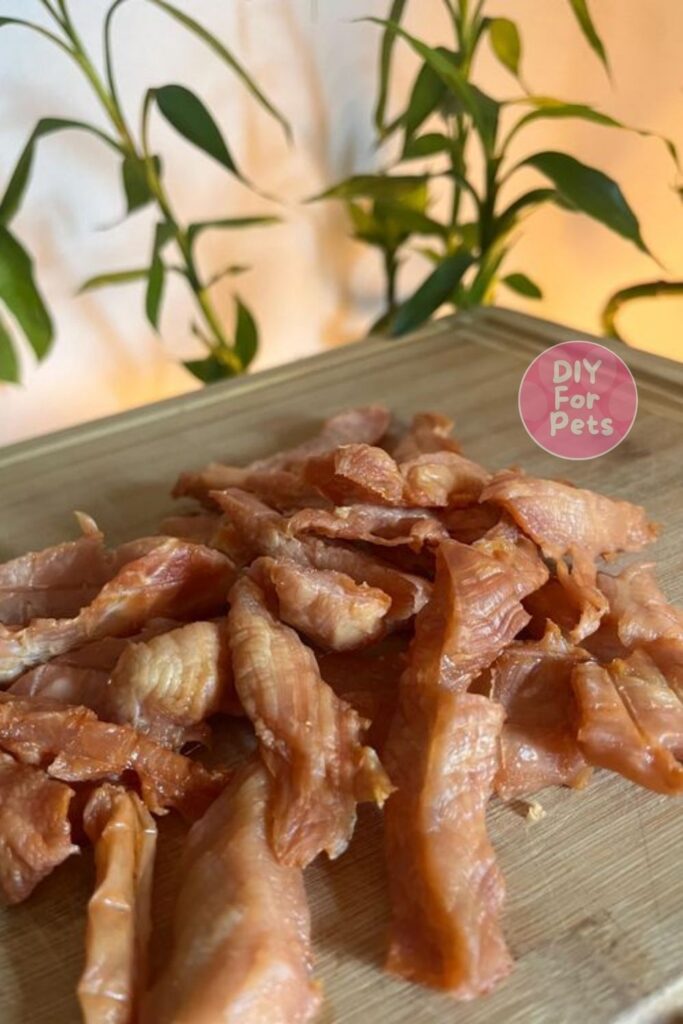
1. Chicken Breast Jerky
This is the classic go-to jerky that my dogs never get tired of. Chicken breast is lean, affordable, and easy to work with. Simply slice the chicken into thin strips, bake or dehydrate, and voilà! You’ve got delicious homemade treats. Chicken jerky is great for dogs with sensitive stomachs, as it’s a single-ingredient treat that’s gentle on their digestive systems.
Cost-wise, chicken breasts usually run around $5–$7 per pound, and a single pound will make a good-sized batch of jerky that can last a couple of weeks if stored properly.
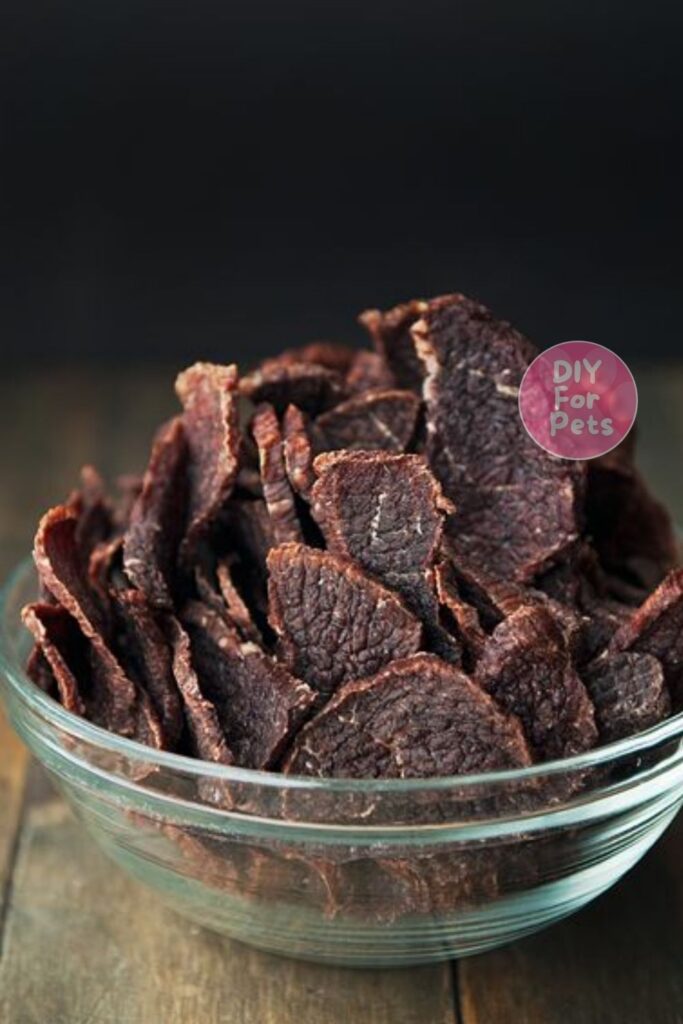
2. Beef Jerky
For something heartier, beef jerky is a fantastic option. I use lean cuts of beef like flank or sirloin steak, slice them thinly, and dehydrate them just like the chicken. If your dog enjoys a more robust flavor, this is a winner! You can even try adding a tiny bit of dog-safe herbs, like rosemary, to the meat before drying.
Beef jerky tends to be a bit more expensive, costing around $8–$10 per pound, but the flavor and texture are well worth it, especially for larger dogs or heavy chewers.
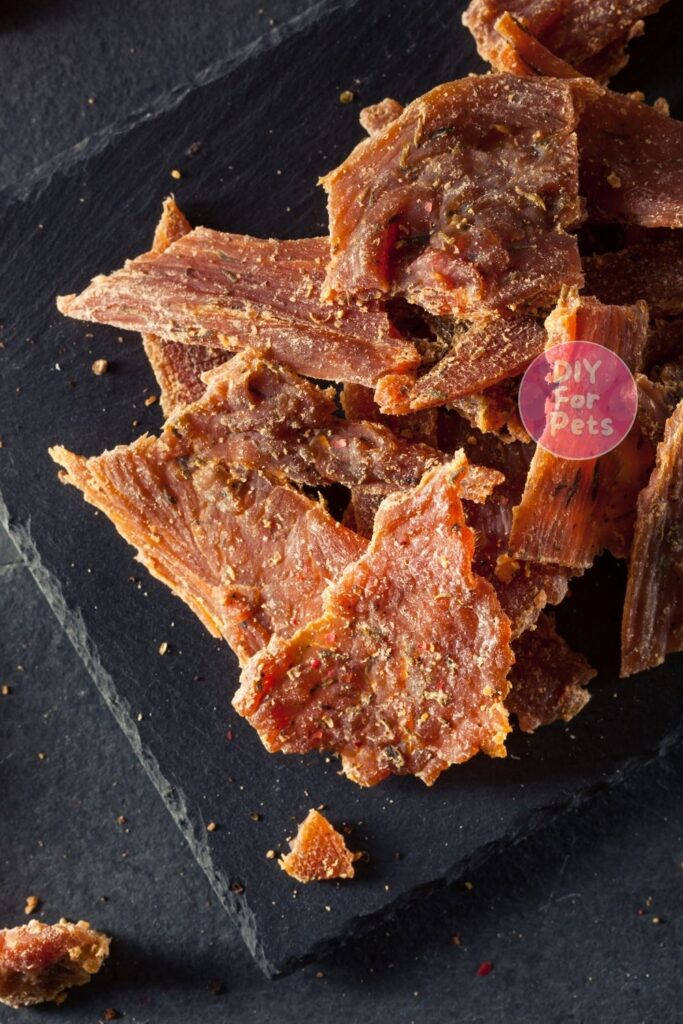
3. Turkey Jerky
Turkey is another lean and flavorful option. I love making turkey jerky around the holidays when turkey is in abundance. Just like chicken, you can slice the turkey breast into thin strips and dehydrate or bake it. Turkey jerky tends to be slightly more tender than chicken, making it a great option for older dogs or those who prefer softer treats.
Turkey breast usually costs around $5–$7 per pound, making it a budget-friendly choice, and it’s packed with lean protein.
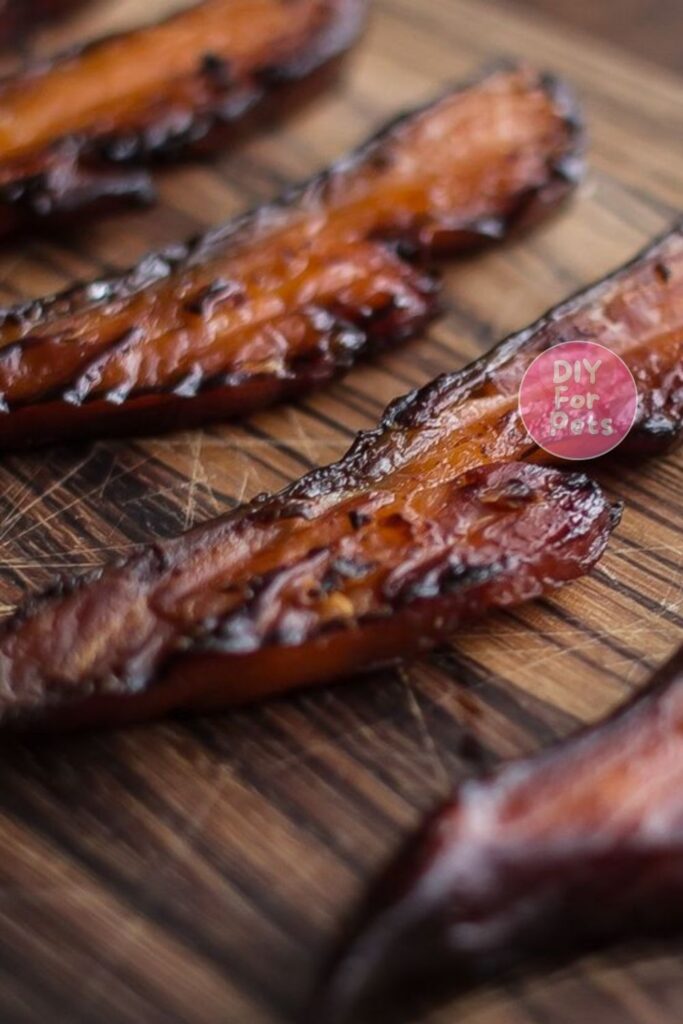
4. Fish Jerky
For a unique twist, try making fish jerky! White fish like cod or haddock work best because they’re lean and easy to slice. Fish jerky is packed with omega-3 fatty acids, which are great for your dog’s skin and coat. Just be prepared for your house to smell a little “fishy” while it’s drying!
Fish jerky can be a bit more expensive, ranging from $7–$10 per pound, but the nutritional benefits are fantastic, especially for dogs with joint issues or dry skin.
FAQs
1. How long does homemade dog jerky last?
When stored in an airtight container in the refrigerator, homemade dog jerky can last up to two weeks. For longer storage, you can freeze it for up to three months. Always check for any signs of spoilage, like mold or an off smell, before giving it to your dog.
2. Can I use any type of meat for dog jerky?
You can use a variety of lean meats for dog jerky, including chicken, beef, turkey, and fish. Just be sure to avoid fatty cuts of meat, as the fat doesn’t dehydrate well and can cause the jerky to spoil more quickly.
3. Is homemade dog jerky safe for all dogs?
Yes, homemade dog jerky is generally safe for all dogs, as long as you use high-quality, lean meat and avoid harmful additives like salt, garlic, or onions. If your dog has specific dietary restrictions, be sure to choose the right type of meat and consult your vet if necessary.
4. How can I make the jerky last longer?
To extend the shelf life of homemade dog jerky, store it in the fridge or freezer. Freezing the jerky in small portions allows you to thaw only what you need, keeping the rest fresh for longer.
Making DIY dog jerky is not only a fun and budget-friendly project, but it also allows you to provide your dog with healthy, natural treats made from real ingredients. Whether you go for classic chicken, hearty beef, or even fish, your dog will love these chewy, homemade treats. So, grab your knife and get ready to spoil your dog with some delicious jerky! Trust me, it’s worth every second when you see how excited they get.