15 DIY Dog Crate Ideas On A Budget (Easy To Build)
If you’re like me and love crafting special things for your pets, you’ve probably thought about how to make their spaces more personal, comfortable, and stylish. Whether it’s for dogs, cats, or even rabbits, there’s always room to add a touch of creativity to their daily lives.
One of my latest projects was creating a DIY dog crate. Not only was it a fun project to tackle, but it also allowed me to design something that fits perfectly with my home decor and my dog’s needs. Best of all, it’s budget-friendly, and you can customize it to make it truly one-of-a-kind. If you’re ready to join me on this creative journey, follow along as I walk you through how to make your own dog crate and share some awesome ideas to inspire your next project.
DIY Dog Crate: Step by Step
Materials Needed
Before we get started, here’s a quick rundown of the materials you’ll need. Most of these are easy to find, and you might already have some lying around your home!
- Wooden boards (for the crate frame): $10–$20
- Screws and nails: $5–$10
- Drill and saw (borrow if you don’t own them)
- Hinges and latch (for the crate door): $5–$8
- Sandpaper (to smooth out the wood): $3–$5
- Wood stain or paint (optional for finishing): $5–$10
- Wire mesh or metal bars (for ventilation and safety): $10–$15
- Cushion or dog bed for inside: Already have this!
In total, this project can cost anywhere from $30 to $60 depending on the materials and size of the crate. If you’re working with repurposed materials or have wood left over from previous projects, the cost will be even lower!
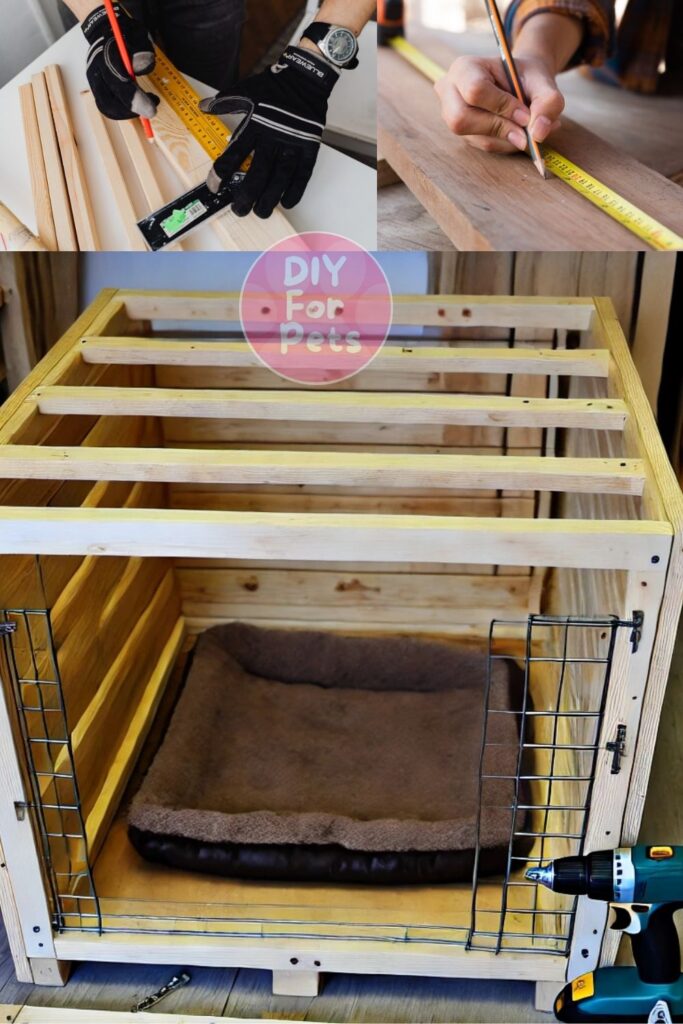
Phase 1: Measuring and Cutting
The first step is to measure the space where you want to place the crate and decide on the size that works best for your dog. Measure your dog’s length, height, and width to ensure they’ll have enough space to stand up, turn around, and lie down comfortably. Once you’ve got the dimensions, use a saw to cut your wooden boards to size.
Make sure to cut the boards for the crate’s four walls, the top, and the base. For ventilation, one of the side panels should have space for wire mesh or bars. After cutting the wood, use sandpaper to smooth the edges and avoid any splinters.
Phase 2: Assembling the Frame
Next, it’s time to assemble the crate. Start by attaching the four walls to the base using screws or nails. Make sure the boards are securely fastened so the structure is stable. Attach the top panel last to ensure the crate stays strong and solid.
Once the frame is assembled, attach the wire mesh or metal bars to the sides for ventilation. You can secure these with screws or brackets, depending on your design. For the door, use hinges and a latch, ensuring it swings open easily and locks securely when closed.
Phase 3: Finishing Touches
Here’s where the fun really starts—customizing your dog crate! You can choose to stain or paint the wood to match your home decor or leave it as a natural wood finish for a rustic look. If you want to add extra flair, consider stenciling your dog’s name on the side or adding a cute design. Inside the crate, place a comfortable dog bed or cushion to make the space cozy.
9 Easy DIY Dog Crate Ideas
Once you’ve mastered the basics of building a dog crate, the possibilities for customization are endless. Let’s explore some creative, budget-friendly ideas for making a unique dog crate that both you and your dog will love.
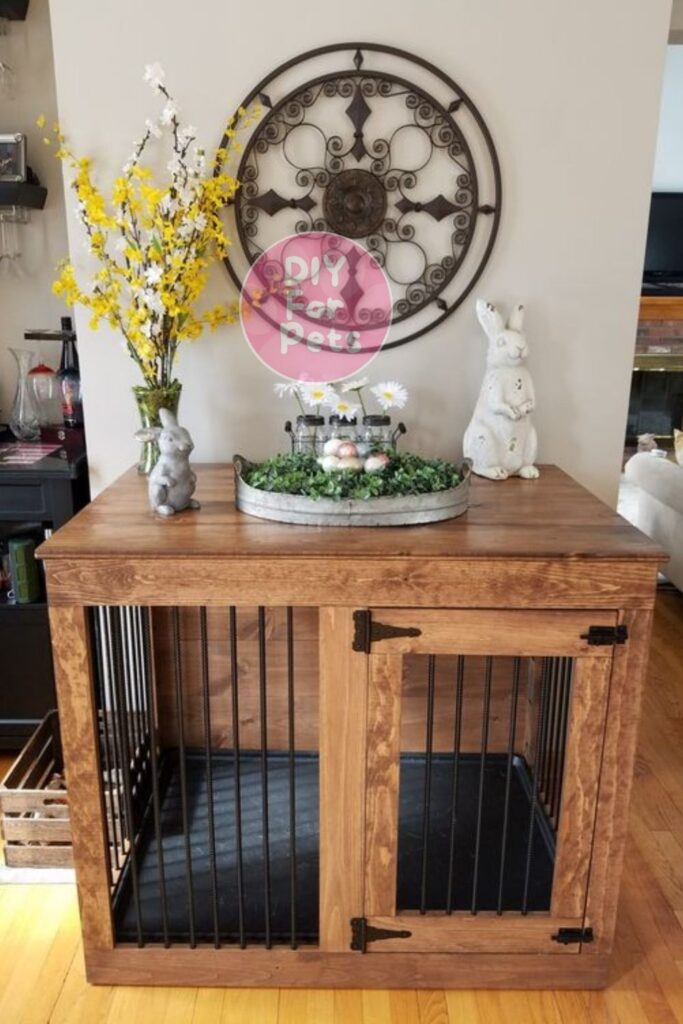
1. Rustic Wooden Crate
If you’re into farmhouse or rustic decor, this idea is for you. You can make a simple wooden dog crate using reclaimed wood or pallets for that rugged, unfinished look. Start by cutting the wood into slats and assembling them into a crate with a basic rectangular frame. You can leave gaps between the slats for ventilation or add wire mesh on the inside.
This crate gives off a vintage, country-style vibe and looks great in any cozy, rustic-themed room. The cost for this project is minimal, especially if you’re using reclaimed wood. You can easily complete this crate for around $30, making it both budget-friendly and stylish.
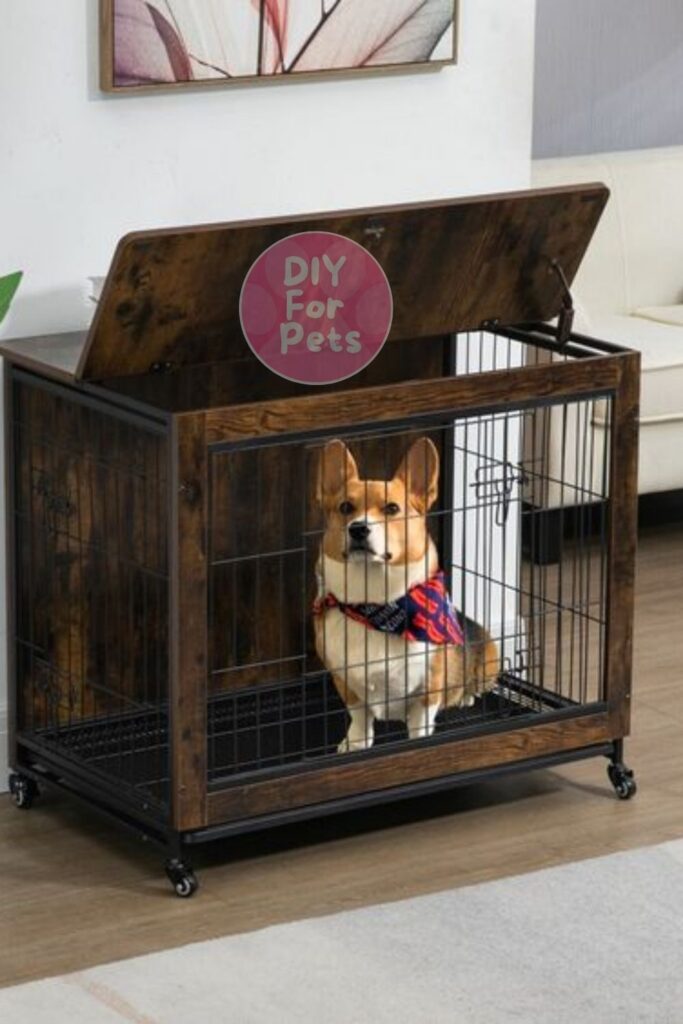
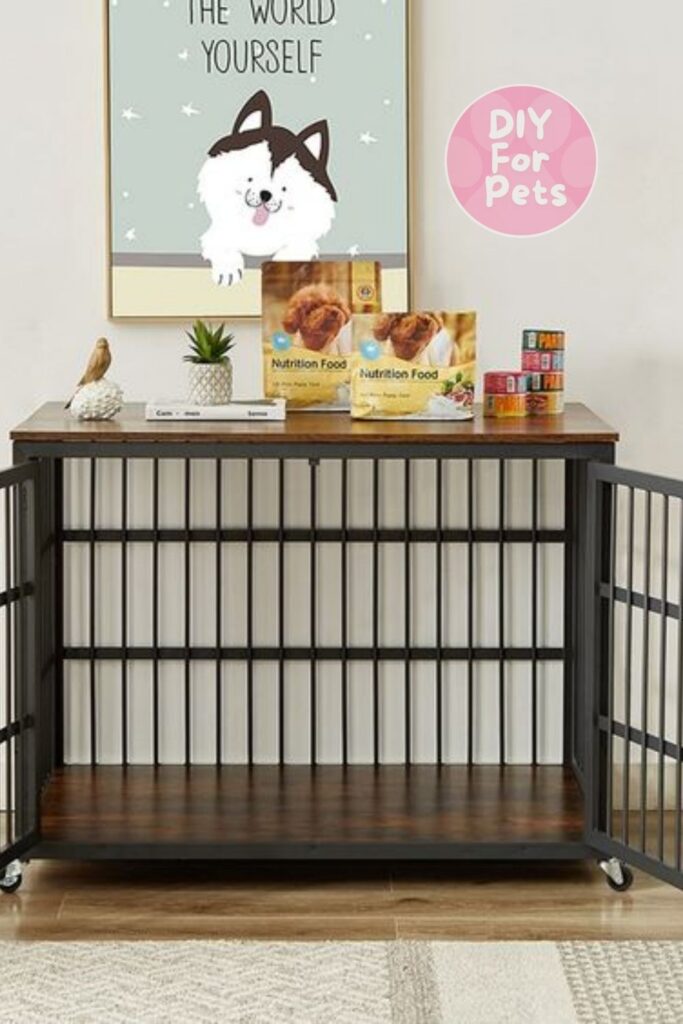
2. Modern Crate with Storage
For a more functional design, consider creating a crate that doubles as a storage unit. Use a wooden top that can serve as a table for books, plants, or decor, while your dog’s crate sits neatly underneath. You can add drawers or shelves on the side for storing your dog’s toys, leashes, and food.
This idea not only keeps your space organized but also blends the dog crate into your home’s furniture seamlessly. The cost depends on the type of wood and hardware you use, but it’s typically around $50 to $60.
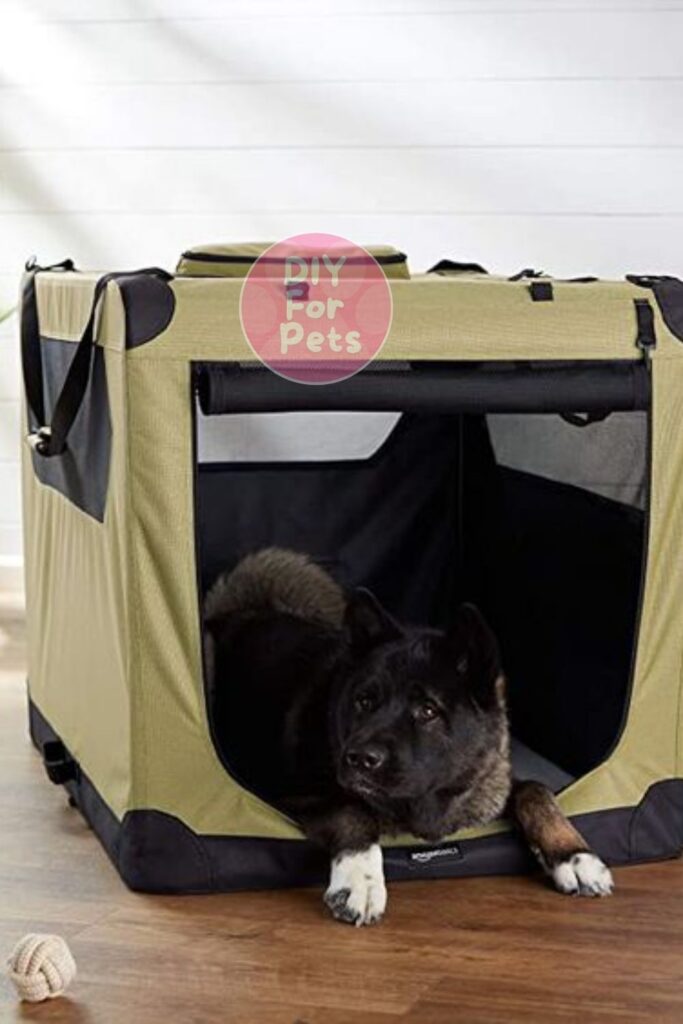
3. Collapsible Crate
For those with limited space or who like to travel with their dogs, a collapsible crate is an ideal solution. This crate is made using lightweight wooden panels or PVC pipe that can be easily assembled and taken apart as needed. Use hinges and Velcro straps to secure the sides when in use, and make sure the crate can be folded flat when not needed.
This crate is perfect for apartment living or road trips. It’s easy to transport, store, and reassemble, making it a versatile option. The cost is around $40, and the convenience factor is unbeatable.
4. Repurposed Furniture Crate
I love projects that give new life to old furniture. One creative idea is to convert an old dresser or cabinet into a dog crate. Remove the drawers or doors, and replace the front panel with wire mesh or wooden slats. This way, you’re recycling furniture you no longer need and turning it into a functional dog crate.
This option is great because it saves you money and reduces waste. Depending on the size of the furniture, you may only need to spend $20 to $30 on additional materials like mesh or wood strips.
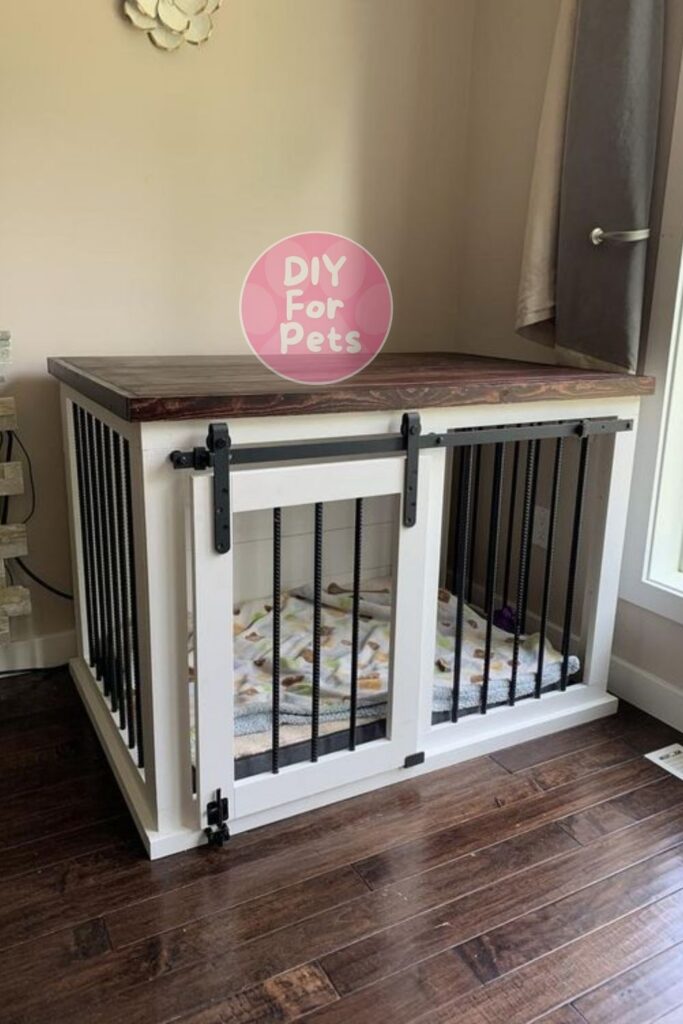
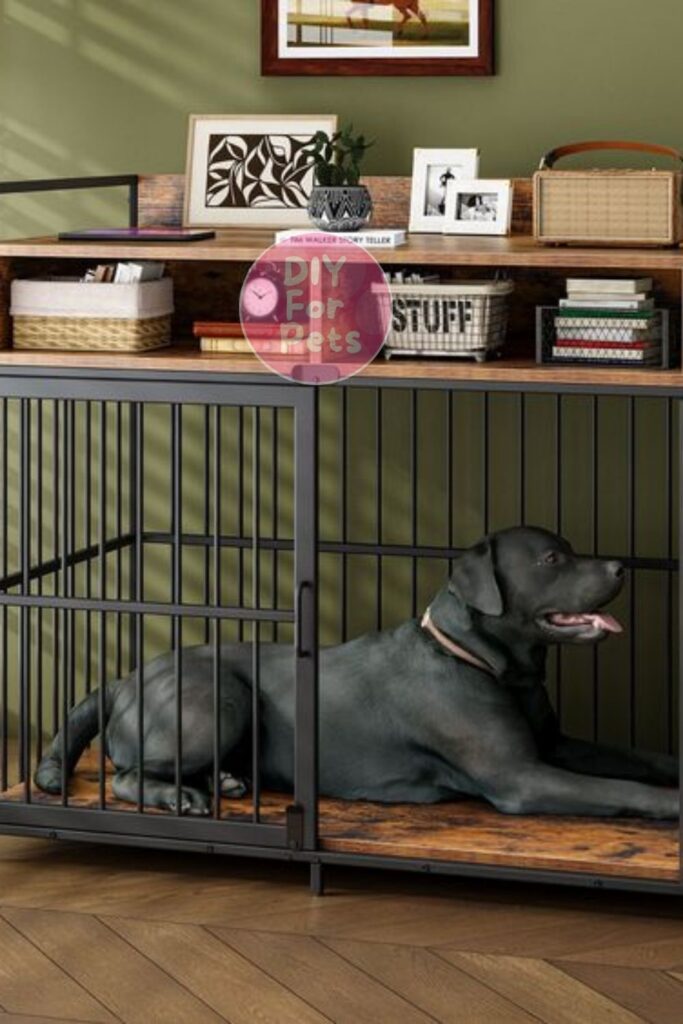
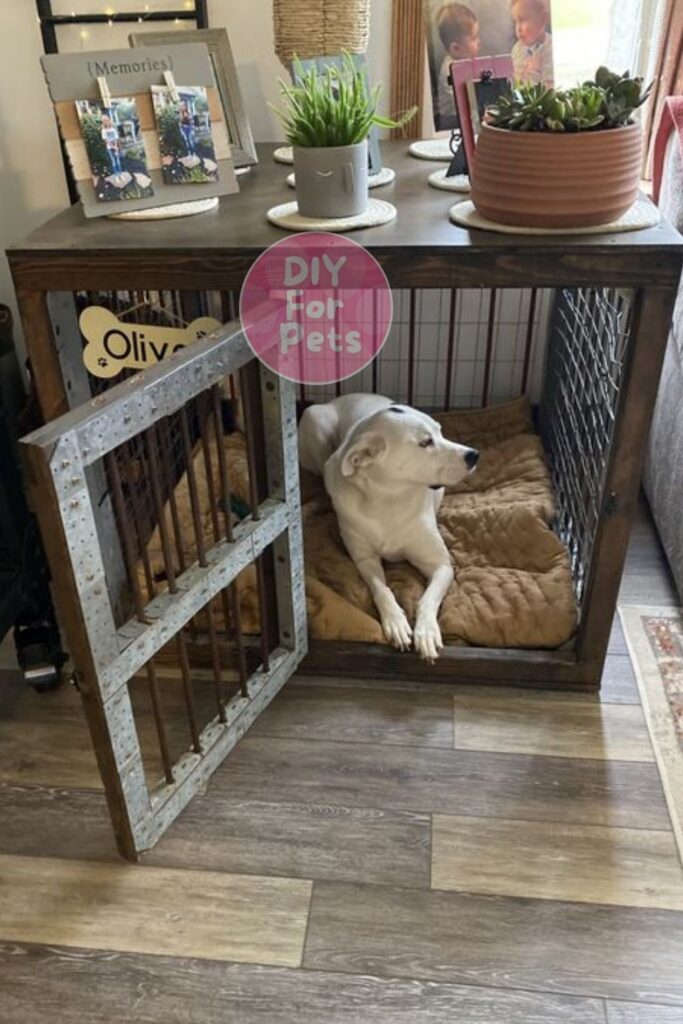
5. Dog Crate End Table
A dog crate that doubles as an end table is both practical and chic. You can build a crate that fits your dog while serving as a stylish side table for your living room or bedroom. Use sturdy wood and add a smooth top surface for placing lamps, books, or decor. The crate beneath will keep your dog cozy, and the furniture will blend seamlessly into your home.
This project usually costs around $50, depending on the size of the crate and the type of wood you choose. It’s a great way to combine functionality and aesthetics.
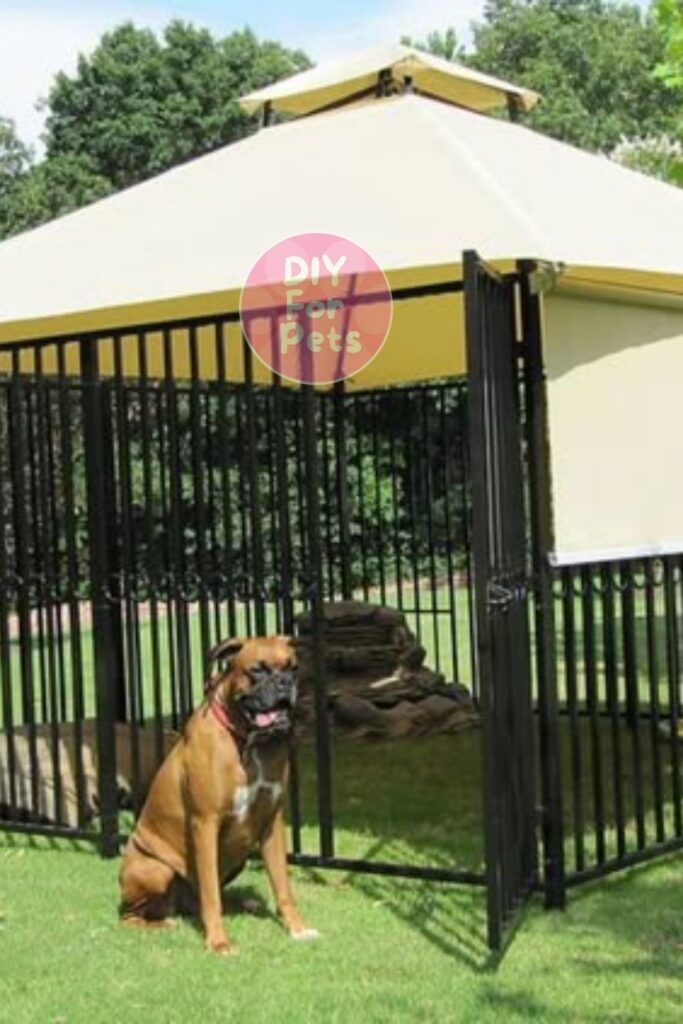
6. Indoor/Outdoor Crate
For dogs that spend a lot of time both indoors and outdoors, consider building a crate that can be used in both environments. Use weather-resistant wood or plastic for the frame, and add a removable cover for shade. The sides can be made from wire mesh, allowing for plenty of airflow during warm days.
This type of crate is ideal for outdoor patios or porches and can easily be moved indoors when needed. It’s a versatile and sturdy option, costing around $40 to $50 depending on the materials used.
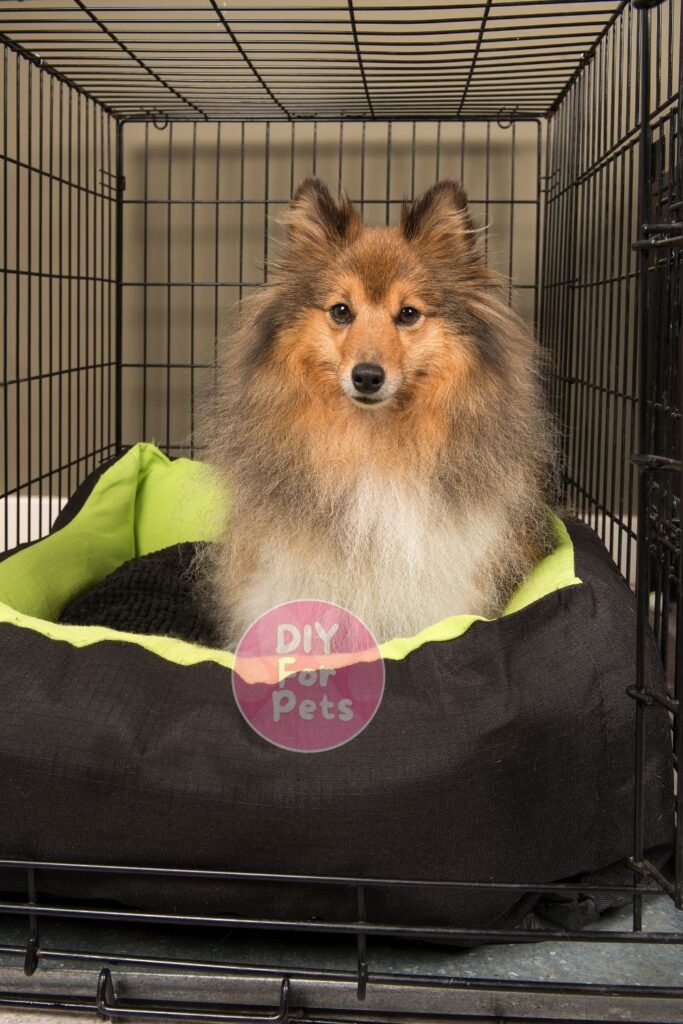
7. DIY Crate with Cushion Bed
For maximum comfort, why not add a custom cushion or bed to your dog’s crate? You can sew a simple cushion using fabric and foam, making sure it fits snugly into the base of the crate. This crate design is great for dogs that enjoy lounging in their crate for extended periods.
The cushion adds extra coziness, and you can switch up the fabric to match your home decor. The cost for this project is around $35, including the materials for the cushion.
8. Travel-Friendly Crate on Wheels
If you move your dog’s crate frequently, adding wheels can make life so much easier! Use a sturdy wooden frame and attach small caster wheels to the bottom. Make sure the wheels have a locking mechanism to keep the crate in place when needed.
This crate is perfect for homes with multiple rooms or for those who like to keep their dog close by throughout the day. The cost for this project is around $40, and the added mobility is a game-changer.
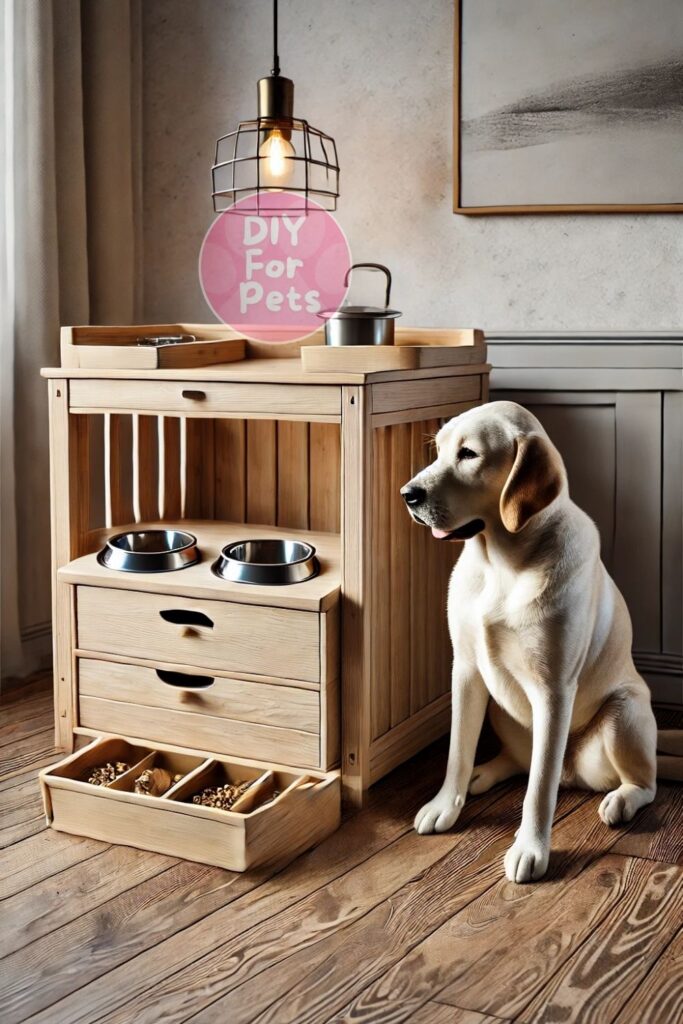
9. Crate with Built-In Feeding Station
One of the most innovative ideas is to build a dog crate with a built-in feeding station. Use the top of the crate to hold your dog’s food and water bowls, creating a sleek, all-in-one feeding and resting spot. You can even add drawers underneath for storing food and treats.
This design is perfect for homes with limited space or for dog owners who want everything in one place. The project costs around $60, and it adds a ton of convenience to your daily routine.

FAQs
1. How big should my DIY dog crate be?
The crate should be large enough for your dog to stand up, turn around, and lie down comfortably. Measure your dog’s height, length, and width, and add a few inches to ensure they have enough space to move around.
2. What materials are best for building a dog crate?
Wood, metal, and PVC are great options for building a sturdy and durable crate. If you’re looking for something lightweight, PVC or plastic is ideal. For a more stylish look, wood is perfect, especially if you plan to stain or paint it.
3. Are DIY dog crates safe?
Yes, as long as you use strong, durable materials and ensure the crate is securely assembled, DIY crates are perfectly safe for dogs. Make sure the crate is sturdy and has no sharp edges or splinters that could harm your dog. Secure the door with a reliable latch, and ensure proper ventilation through mesh or slats to keep your dog comfortable.
4. Can I build a crate for any dog size?
Absolutely! DIY crates can be customized for dogs of all sizes, from small breeds to large ones. Just make sure to adjust the materials and dimensions accordingly to provide enough space and durability for your dog’s specific needs.
Building a DIY dog crate is such a rewarding project that combines creativity, functionality, and a love for pets. Whether you opt for a rustic wooden crate, a multifunctional end table crate, or a travel-friendly option, there are so many ways to customize this project to suit both your dog’s needs and your home decor. And the best part? It’s budget-friendly and fun to make! So, gather your materials, and let’s create something special for your furry friend that’s both cozy and stylish!