20 DIY Dog Belt Ideas For Beginners (Easy & Budget Friendly)
I love nothing more than finding creative ways to make life better for my pets. As someone with a house full of animals, including dogs, cats, and even rabbits, I’m always looking for fun projects that are simple, budget-friendly, and most importantly, something my pets will enjoy. One of my latest endeavors was creating a DIY dog belt. It turned out to be such an exciting and rewarding experience that I can’t wait to share it with you. Trust me—once you see how easy, affordable, and creative this project can be, you’ll want to get started right away!
DIY Dog Belt: Step-by-Step
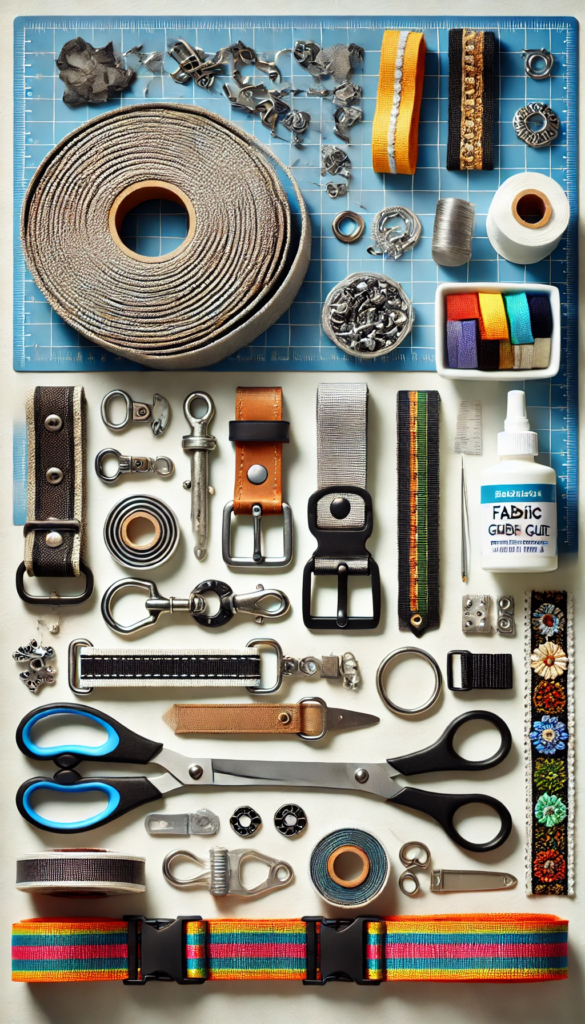
Materials Needed
Before we dive into the steps, let’s go over the essential materials you’ll need for this DIY dog belt project. Don’t worry all of these items are easy to find, and some you might already have at home!
- Nylon webbing (for strength and durability): $5–$10
- Quick-release buckle (adjustable for comfort): $3–$5
- D-rings (to attach a leash or tags): $1–$2 each
- Fabric glue or a sewing kit (to fasten the pieces together): $3–$7
- Scissors (to trim the materials): Already have these!
- Decorative elements like fabric, embroidery, or reflective tape for safety (optional but fun!): $2–$5
In total, you can make a custom dog belt for anywhere from $10 to $20, depending on how fancy you get.
Phase 1: Preparing the Materials
Measure your dog’s waist. If you want to make a belt that fits perfectly, getting the right measurements is key. Measure around your dog’s belly, just behind their front legs. Add a few extra inches for adjustment and comfort.
Now, cut your nylon webbing to the appropriate length. Be sure to leave extra length at both ends for attaching the buckle and D-ring.
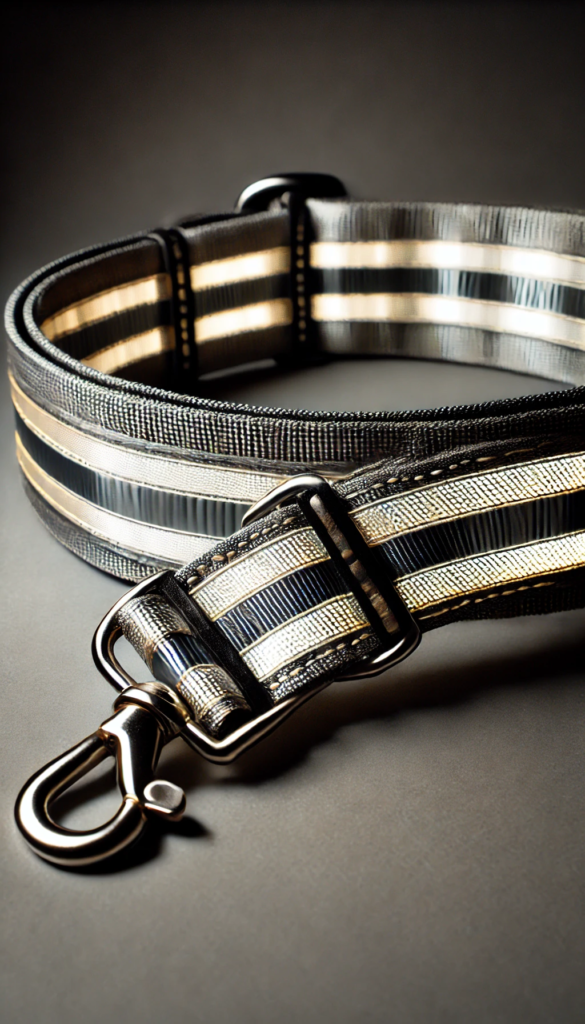
Phase 2: Attaching the Buckle and D-Ring
Thread one end of the webbing through the female side of your quick-release buckle. Fold it back and sew or glue it in place. Make sure it’s secure enough to hold up to daily wear. On the opposite end, thread the D-ring, and then attach the male side of the buckle in the same manner. This will give you an adjustable belt with a strong loop for leash attachment.
Phase 3: Adding Decorations
Here’s the fun part: personalizing your dog’s belt! You can sew on a bright, patterned fabric, embroider your dog’s name, or add reflective tape for visibility during nighttime walks. This not only makes the belt stylish but also safe.

11 DIY Dog Belt Ideas
1. Reflective Nighttime Belt
A reflective dog belt is a fantastic choice for evening walks, offering safety and visibility for both you and your furry friend. To create one, all you need is reflective tape or fabric, which you can easily find at any craft or hardware store. Cut strips of the tape and attach them along the length of the nylon webbing. You can either sew the tape on for extra durability or use fabric glue for a quicker application. The key is to cover enough of the belt to ensure visibility from multiple angles when light hits it.
Not only is this project simple and affordable, but it also provides peace of mind when walking your dog in low-light conditions. You could even customize the belt by using different colors of reflective material or adding small reflective patches in fun shapes. The total cost for materials typically runs around $5, making this an easy and budget-friendly project that significantly boosts safety.
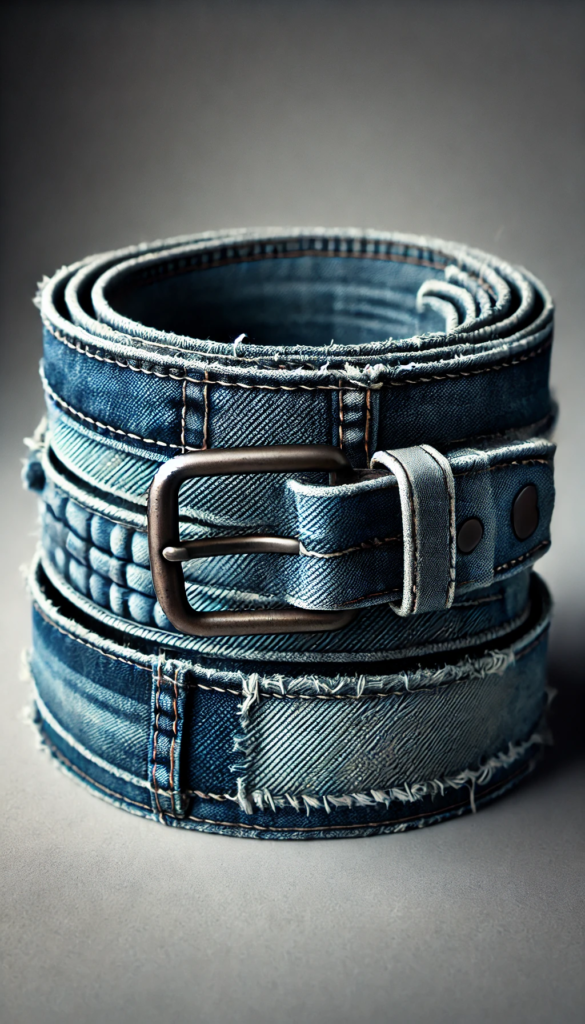
2. Denim Dog Belt
Upcycling old jeans into a dog belt is both eco-friendly and stylish. Start by cutting out strips of denim from the leg of an old pair of jeans. These strips will be sewn or glued onto the base nylon webbing, providing durability while keeping the denim look on the outside. The denim gives the belt a rugged, casual appearance, which is perfect for dogs that enjoy the outdoors or have a laid-back style. The fabric will naturally soften over time, ensuring that the belt stays comfortable for your dog.
The best part of this idea is how little it costs especially if you already have old jeans you’re willing to repurpose. You can also reinforce the seams for added strength if your dog tends to pull on the leash. Denim is quite sturdy, so this belt will hold up well with regular use, making it an excellent choice for adventurous dogs.
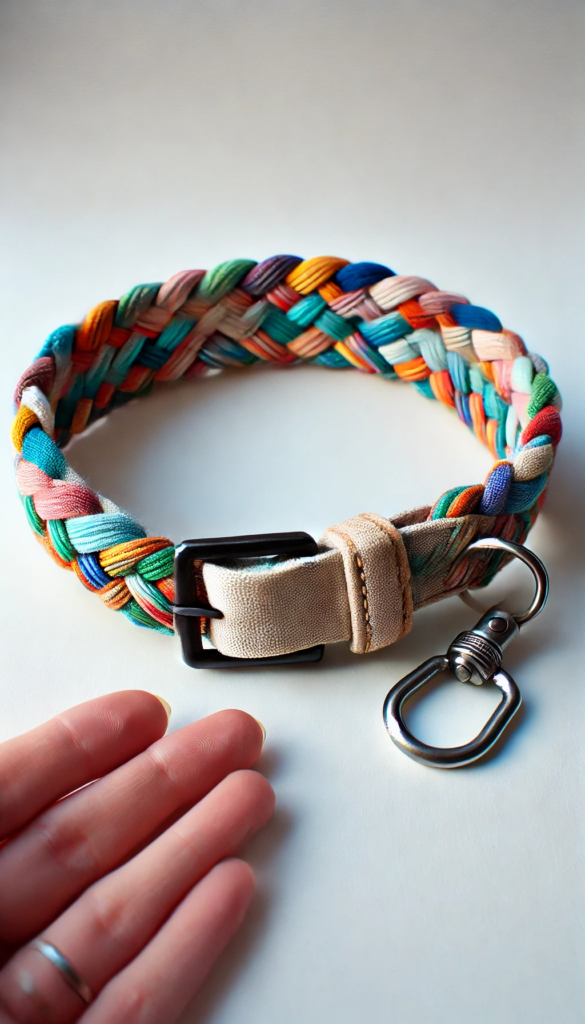
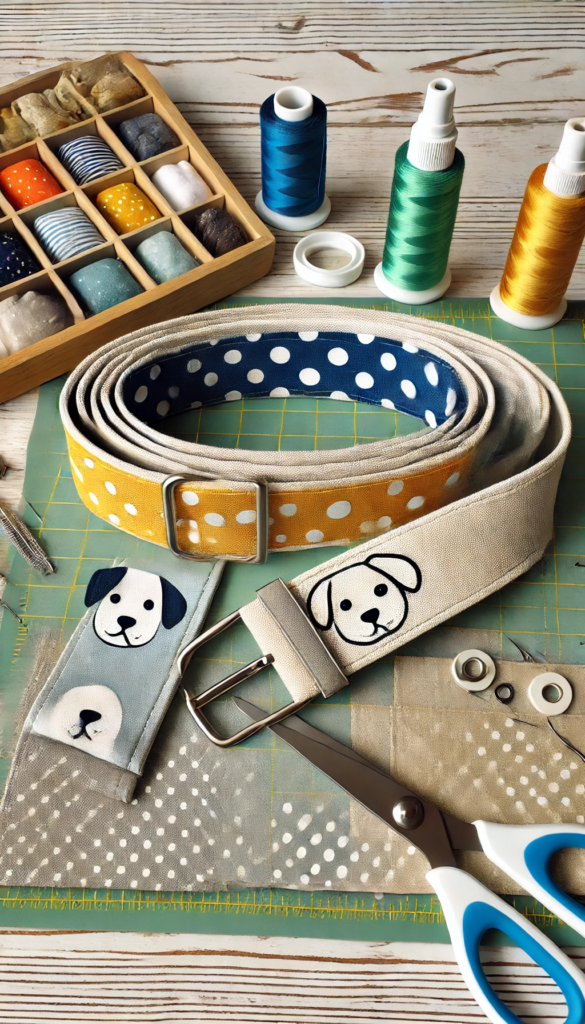
3. Braided Fabric Belt
For a unique, homemade touch, try creating a braided fabric dog belt. To make this, gather strips of soft cotton fabric in various colors or patterns. You can use old T-shirts, sheets, or purchase fabric from a craft store. Once you have your strips, braid them together tightly to form a strong and flexible belt. Be sure to leave enough length on each end to attach the buckle and D-ring securely. The braided texture not only looks beautiful but also offers a cushioned, comfortable feel for your dog.
This idea allows you to get creative with colors and patterns, making each belt one-of-a-kind. It’s a fun way to experiment with different fabric combinations and textures. Plus, the softness of the fabric is perfect for dogs with sensitive skin. The total cost depends on whether you’re using old materials or buying new fabric, but generally, it’s a low-budget option at around $5–$7.
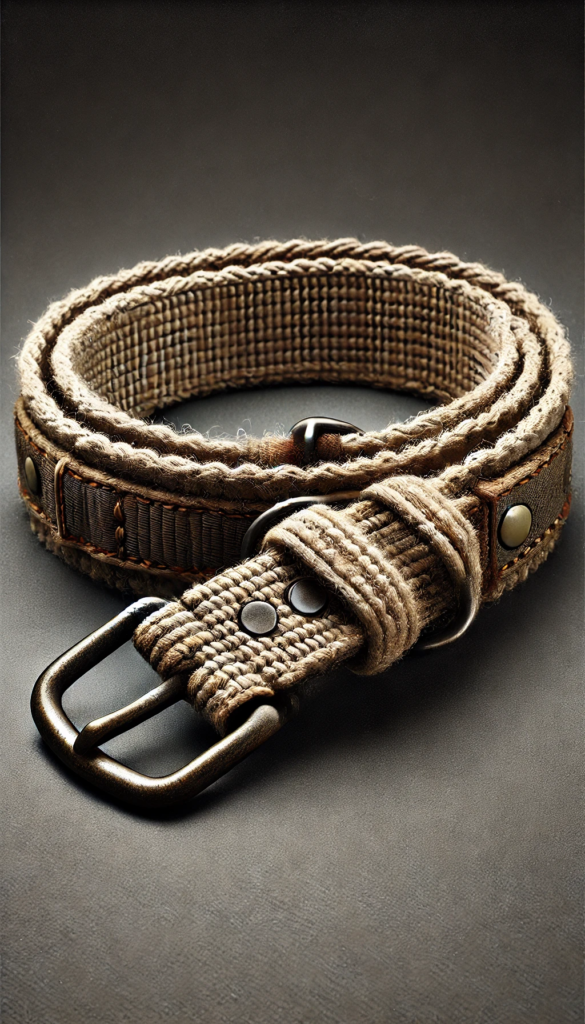
4. Eco-Friendly Hemp Belt
Hemp is a fantastic material for a dog belt because it’s both strong and environmentally friendly. You can purchase hemp webbing, which is similar in texture to nylon but made from natural fibers. Hemp is durable, hypoallergenic, and breathable, making it an excellent choice for dogs that are prone to skin irritations or allergies. To create a hemp dog belt, simply cut the hemp webbing to size, attach the buckle and D-ring as you would with any other belt, and you’re good to go.
You can also personalize the belt by sewing on patches, adding decorative stitching, or even dyeing the hemp for a unique look. The natural texture and earth-tone colors of hemp give the belt a rustic, organic feel. While hemp webbing may cost a bit more than other materials, typically around $10, it’s a long-lasting option that aligns with eco-conscious values.
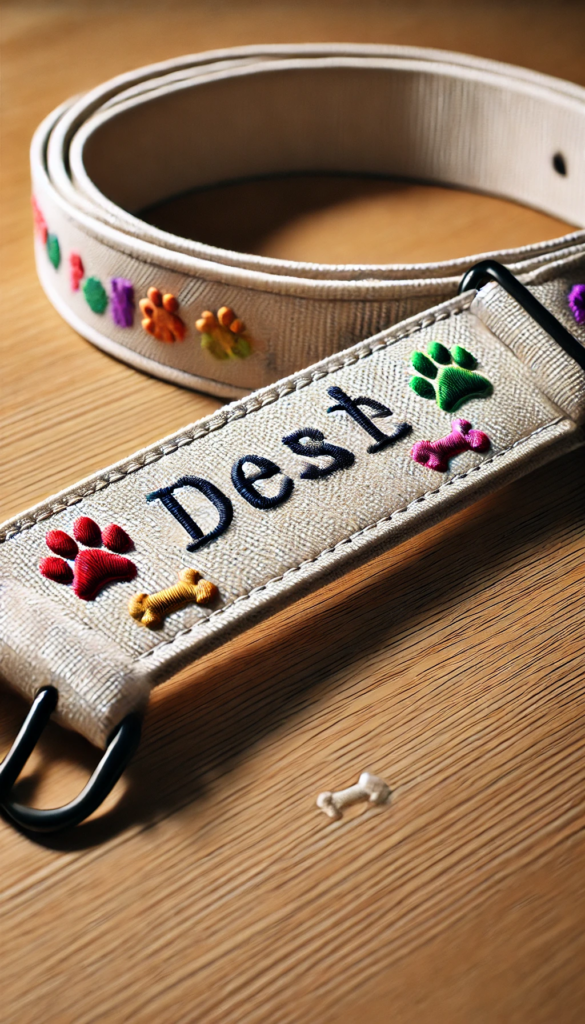
5. Personalized Embroidery Belt
If you love adding personal touches to your projects, a personalized embroidered dog belt is the way to go. Start with a plain nylon belt and use embroidery thread to stitch your dog’s name, a fun phrase, or even small symbols like paw prints or bones. You can find embroidery supplies at any craft store, and this is a project where creativity can really shine. Choose colors that complement your dog’s personality or match their favorite accessories.
Embroidery adds a unique touch that can’t be replicated by store-bought products, and it makes the belt feel extra special. It’s also a great way to ensure your dog’s name is visible in case they ever wander off. While this project requires a bit more time and patience, the result is a custom-made belt that’s as functional as it is charming. Expect to spend about $5 on embroidery thread and needles.
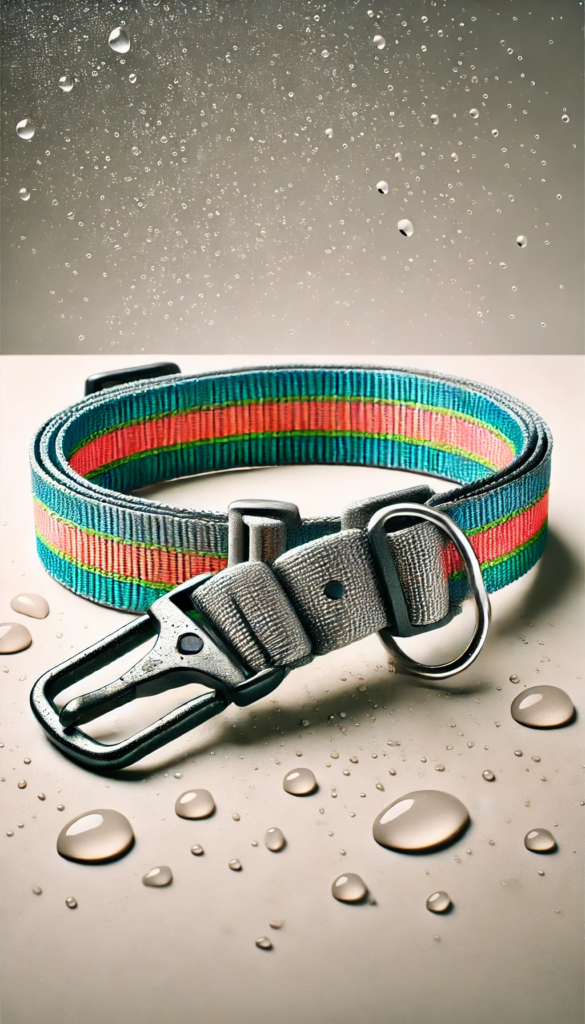
6. Waterproof Belt
For dogs that love to splash around in the water, a waterproof belt is a must. You can make this by using waterproof nylon webbing, which is specially designed to repel water and dry quickly. To ensure that the buckle and D-ring are also waterproof, opt for plastic or stainless steel hardware. This belt is perfect for dogs that frequent the beach, lake, or even just love to play in the rain.
Creating a waterproof belt is straightforward and functional, and it will save you the hassle of dealing with soggy, smelly gear. The materials are slightly more expensive than standard nylon, with waterproof webbing costing around $10, but the extra investment is worth it for active, water-loving dogs.
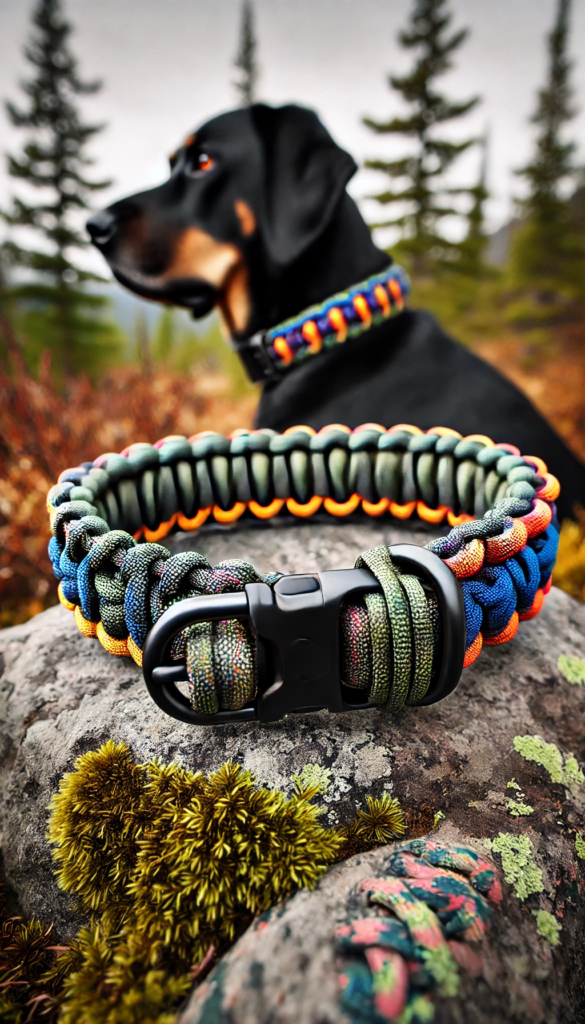
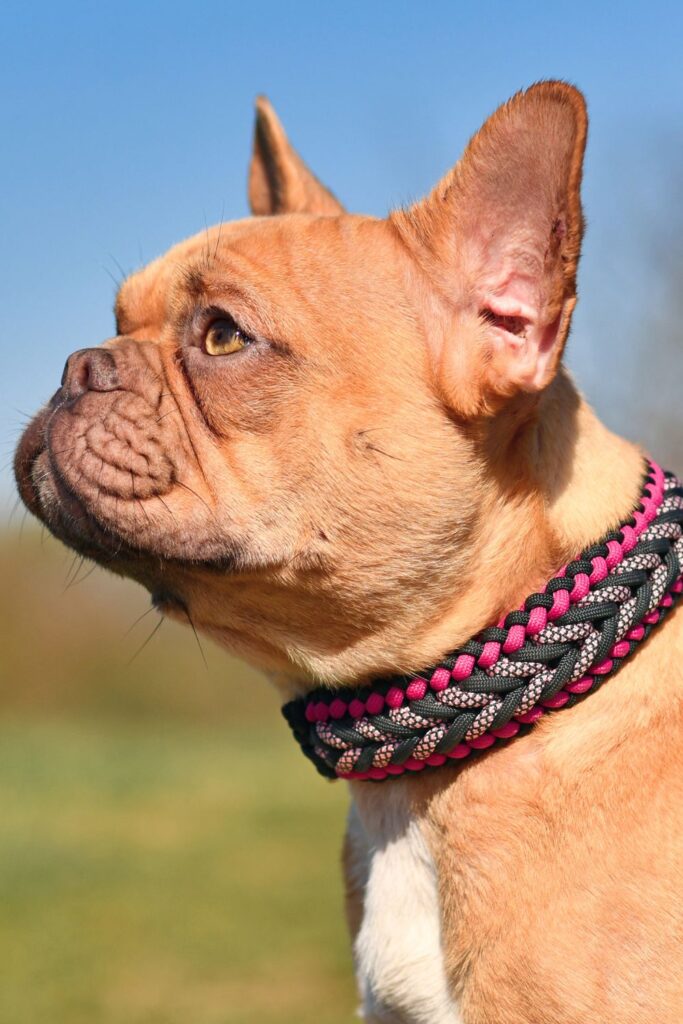
7. Paracord Adventure Belt
Paracord is one of the most durable materials you can use for a dog belt, making it ideal for active dogs that love outdoor adventures. To create a paracord belt, you’ll need several lengths of paracord (about 20–30 feet depending on the size of your dog), which you will weave together using a cobra knot or other sturdy knotting technique. Paracord is extremely strong, yet lightweight, making it perfect for hikes, camping trips, or any other rugged activities your dog enjoys.
What makes this idea so versatile is the wide range of colors and patterns available in paracord. You can create a belt that not only looks good but can also withstand the wear and tear of outdoor use. Paracord typically costs around $7 for a bundle, and the weaving process is simple enough to complete in an afternoon.
8. Patterned Ribbon Overlay
One of the easiest ways to upgrade a plain dog belt is by adding a patterned ribbon overlay. You can choose any ribbon that suits your dog’s style, from floral patterns to bold stripes or even seasonal designs. Simply glue or sew the ribbon onto the nylon webbing for a decorative touch. This is a great way to turn a basic belt into something more personal without a lot of extra effort.
With so many ribbon designs available, you can create multiple belts for different occasions or moods. It’s a fun and inexpensive project, costing about $3 for a roll of ribbon, and it’s an easy way to add a pop of color or pattern to your dog’s accessories.

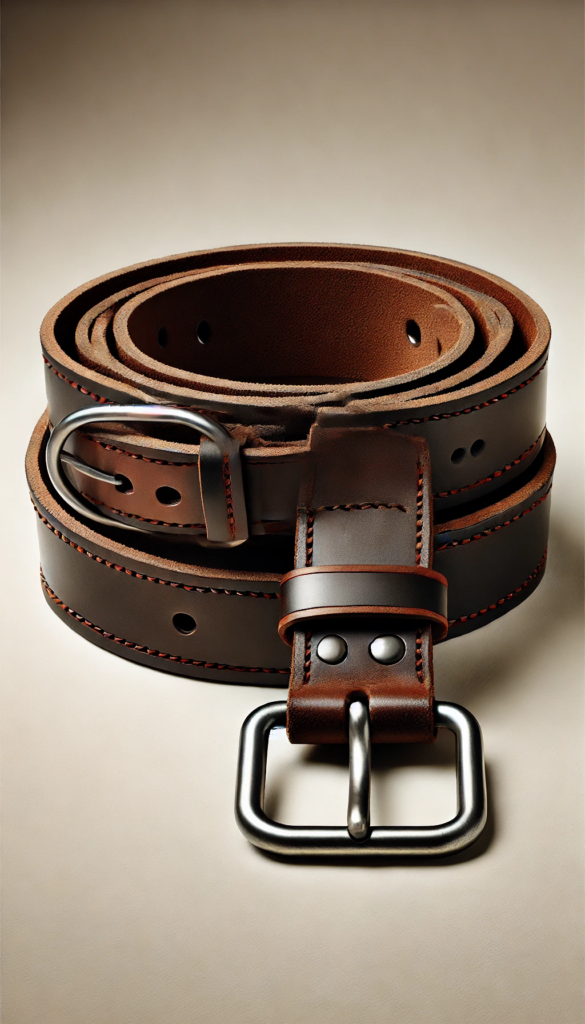
9. Leather Belt for Large Dogs
Leather is a timeless material that’s perfect for making durable dog belts, especially for large or strong dogs. To make a leather dog belt, you’ll need a strip of thick leather (around $10), which you can cut to the appropriate size. Attach a sturdy metal buckle and D-ring to ensure it holds up to pulling and daily wear. Leather not only looks classy but also ages beautifully, becoming softer and more comfortable over time.
This project might take a bit more skill if you choose to hand-stitch the leather, but the result is a high-quality belt that will last for years. If you want to add some flair, you can use a leather punch to create decorative holes or patterns along the belt.
10. Reversible Belt
Why settle for one design when you can make a reversible dog belt with two? To create a reversible belt, sew two different fabrics together, each with its own pattern or color scheme. One side could feature a bright, playful design, while the other could be more subtle or neutral. This gives you the flexibility to switch up your dog’s look with just one belt.
This idea is not only practical but also a great way to use leftover fabric scraps. You’ll need fabric glue or a sewing kit to securely attach the two layers. The total cost for this project is minimal, especially if you already have the materials on hand.
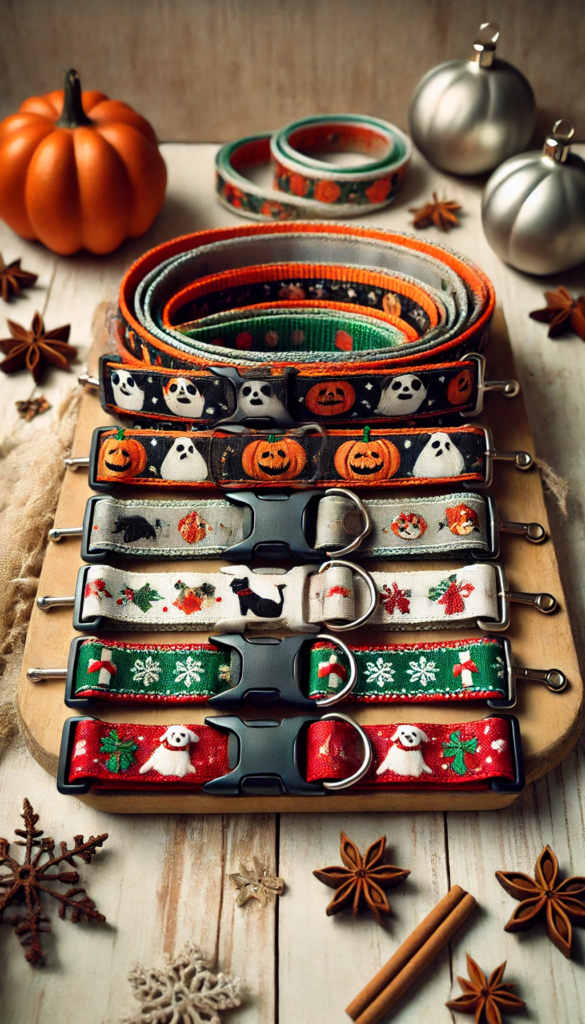
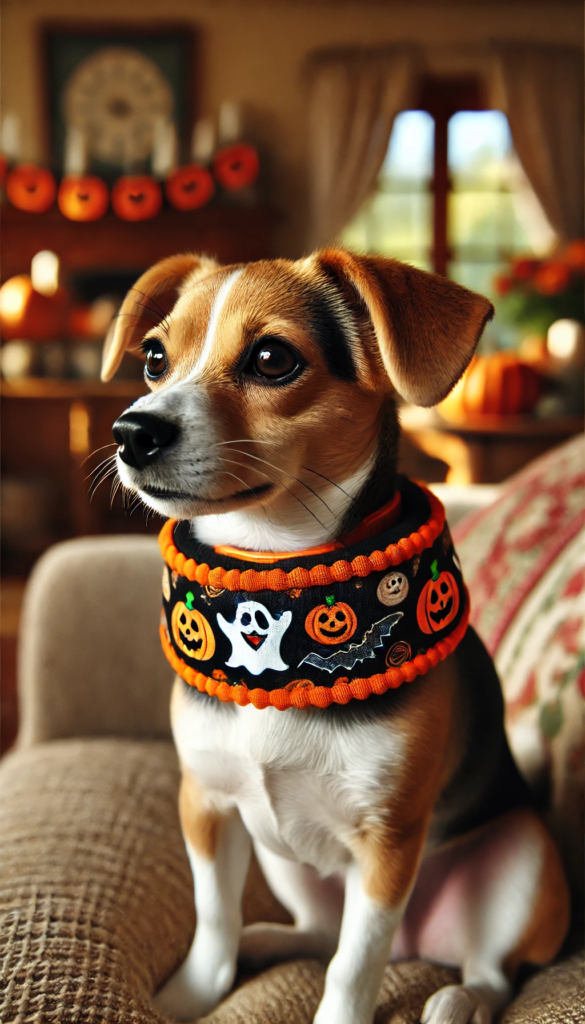
11. Seasonal-Themed Belt
Celebrate the seasons with a belt that matches the time of year! Whether it’s a Halloween-themed belt with spooky designs or a winter holiday belt featuring festive colors, you can make a new belt for each season. All you need is seasonal fabric or ribbon, which you can find at most craft stores. Attach the fabric to a sturdy nylon base, and you’ve got a cute, themed belt that’s perfect for holiday photos or outings.
These seasonal belts are a fun way to add some personality to your dog’s wardrobe without much effort. You can even make a matching leash or collar to complete the look. The cost for each seasonal belt is about $5, and the possibilities for creativity are endless.
FAQs
1. How durable are DIY dog belts compared to store-bought ones?
With the right materials, DIY belts can be just as durable as store-bought versions. Use strong nylon or leather, and ensure all attachments are secure.
2. Can I make a DIY dog belt for a small dog?
Absolutely! You just need to adjust the length and width of the belt to fit your small dog’s size. Smaller dogs might also benefit from softer materials, like cotton or hemp.
3. What’s the best way to clean a DIY dog belt?
Most DIY belts, especially those made from nylon or paracord, can be hand-washed with mild soap and water. Leather belts require leather cleaner and conditioner to keep them in good shape.
4. How much does it cost to make a DIY dog belt?
The cost can vary depending on the materials you choose, but generally, a DIY dog belt will cost between $10 and $20, which is often cheaper than store-bought alternatives.
Making your own DIY dog belt is not only an enjoyable project but also a practical way to customize something that fits your dog’s unique personality and needs. The best part? You get to have fun and save money in the process!
Whether you opt for a simple reflective belt or go all out with embroidery and leather, your dog will love it—and so will you! I can’t wait to see what creative designs you come up with.