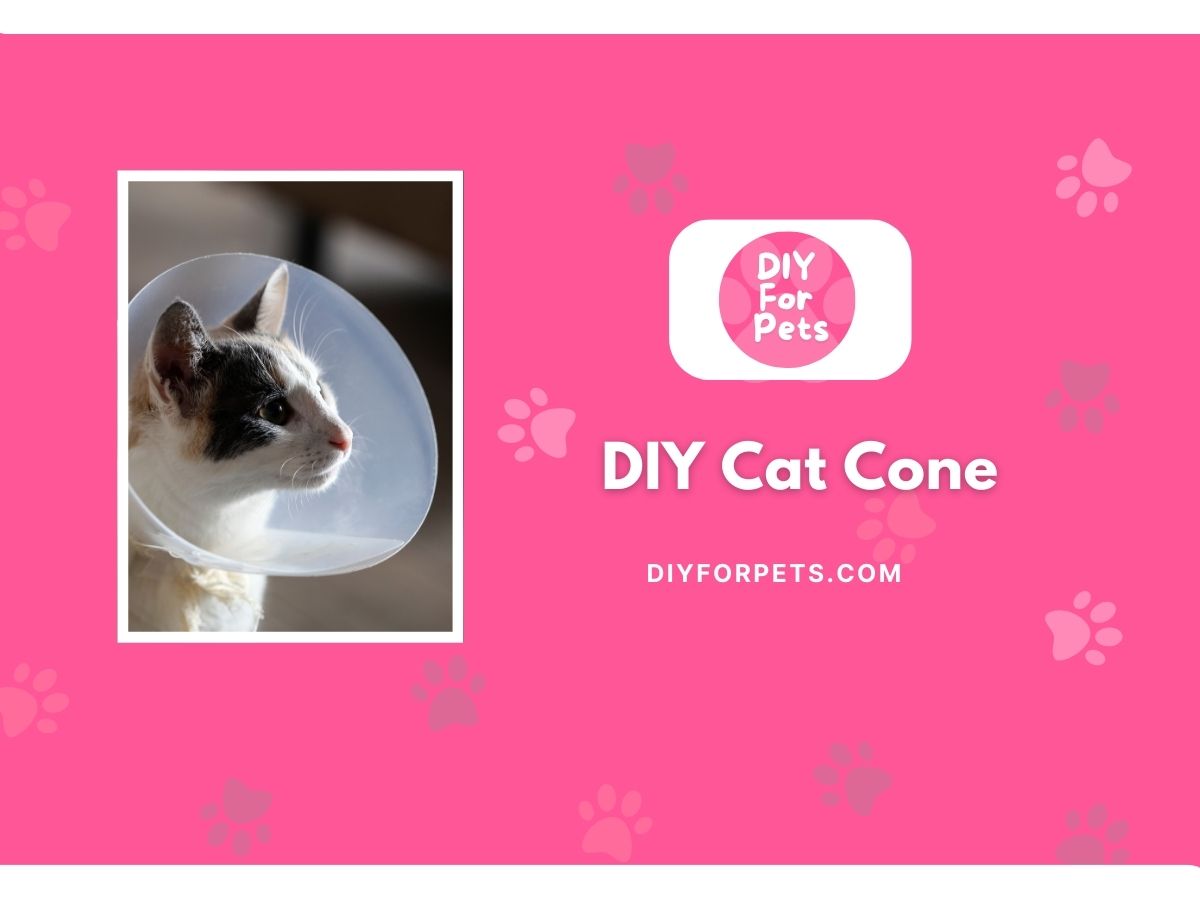
5 DIY Cat Cone For Protection During Health Crisis
With a house full of pets including my cats, who are constantly getting into mischief there are times when a little DIY ingenuity is essential. When my cat needs a cone, I’ve found that making a DIY one at home is often more comfortable and stress-free than using the standard plastic options. Plus, I can adjust the fit to make it more comfortable and less restrictive, which is especially useful if the cone will be on for more than just a day or two.
When Do Cats Need Cones?
Cats typically need cones, also known as Elizabethan collars, after surgeries or if they have a skin condition that makes them want to scratch or lick the affected area. A cone keeps them from reaching certain parts of their body, helping wounds or irritated spots heal without interference. It might seem like a simple accessory, but a cone can be a lifesaver when it comes to protecting your pet. Plus, a DIY cone lets you make it softer, less bulky, and, honestly, a bit more fashionable!
DIY Cat Cone: Step by Step
Creating a DIY cat cone is straightforward and requires only a few basic materials. Here’s a quick guide to get started, along with a few fun ideas for customizing the cone to suit your cat’s needs.
Materials Needed
- Flexible fabric or soft cardboard: $2–$5
- Velcro strips or adhesive tape: $2
- Scissors and ruler: Already have these
- Optional: Soft fabric for lining: $1–$2
Total cost: Around $5–$7, depending on what you have available at home.
Phase 1: Measuring and Cutting
Measure the circumference of your cat’s neck, leaving enough space to fit two fingers comfortably under the cone. Cut your fabric or cardboard into a semi-circle shape, wide enough to extend past their nose but not so long that it interferes with their eating or drinking.
Phase 2: Adding the Fasteners
Attach Velcro strips along the edges to create an adjustable closure. This allows you to put the cone on and take it off without causing too much fuss.
Phase 3: Adding Comfort
For an extra touch, line the inside of the cone with soft fabric to prevent rubbing against your cat’s neck. You can secure the lining with fabric glue or tape.
Easy DIY Cat Cone Ideas
Here are four easy and budget-friendly DIY cat cone ideas that will keep your kitty comfortable while they heal. Each idea is simple to make and lets you get creative with materials you likely already have at home.
1. Soft Fabric Cone
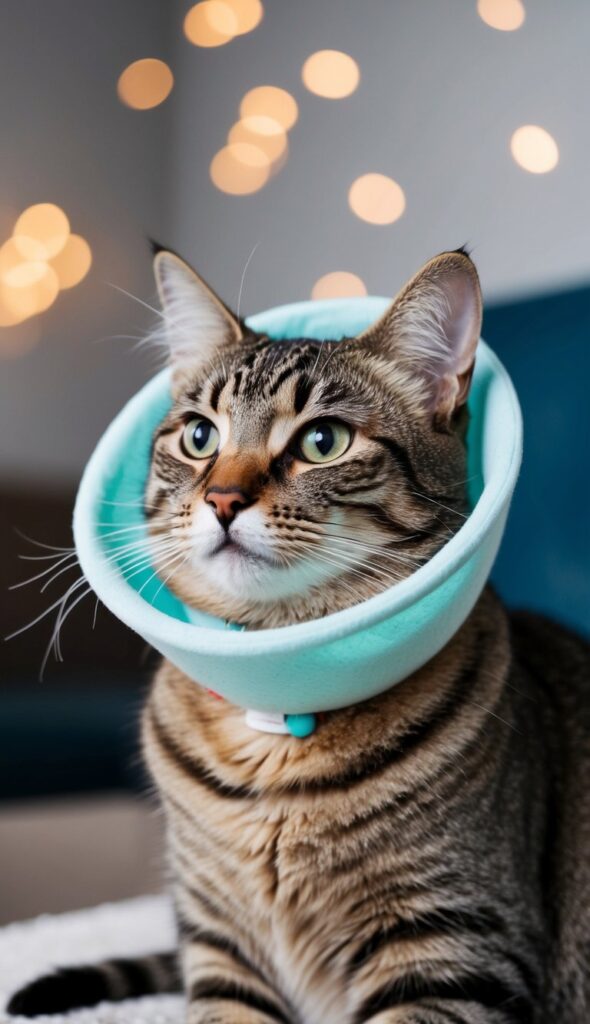
A fabric cone is a gentle alternative to hard plastic and works well for cats who need a little extra comfort. Use a piece of thick fabric, like felt or flannel, cut into a semi-circle shape. Sew or tape the edges together to create a cone shape, and add a Velcro strip along the neck edge for adjustability.
This cone costs around $3 if you already have fabric at home, and it’s soft enough to prevent irritation. Since it’s fabric, you can easily wash it, making it perfect for longer recovery periods.
2. Paper Plate Cone
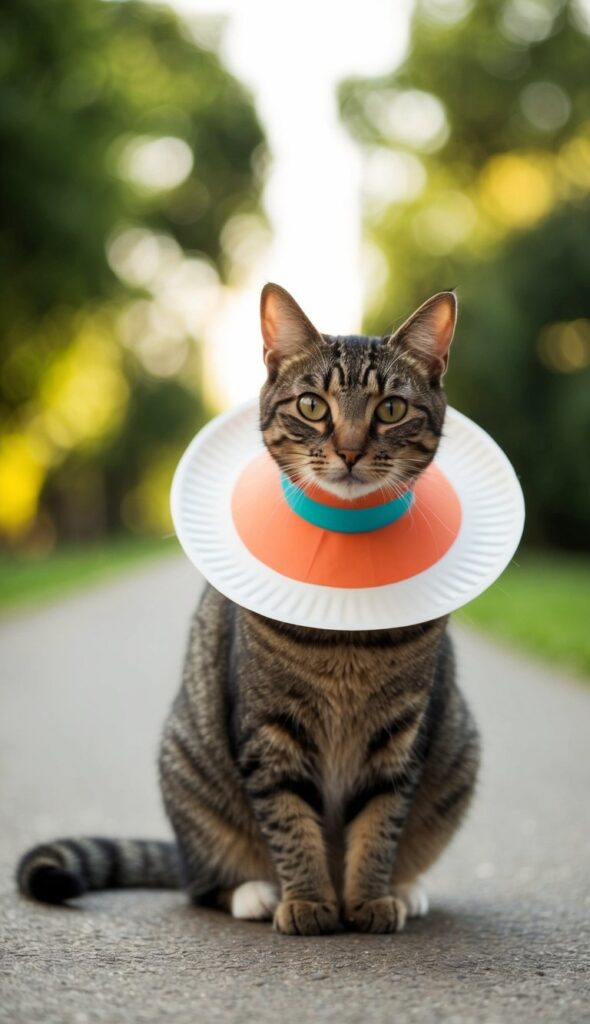
One of the simplest options, a paper plate cone is quick, disposable, and surprisingly effective. Take a large paper plate, cut a circle in the middle to fit around your cat’s neck, and make a few snips along the edge to create flexible “petals.” You can tape the ends together or add Velcro for a snug fit.
This cone costs just a few cents and is ideal for temporary use. It’s also lightweight, so it’s perfect for cats who dislike heavier cones. Plus, the “petal” design allows you to adjust the fit easily.
3. Clear Plastic Sheet Cone
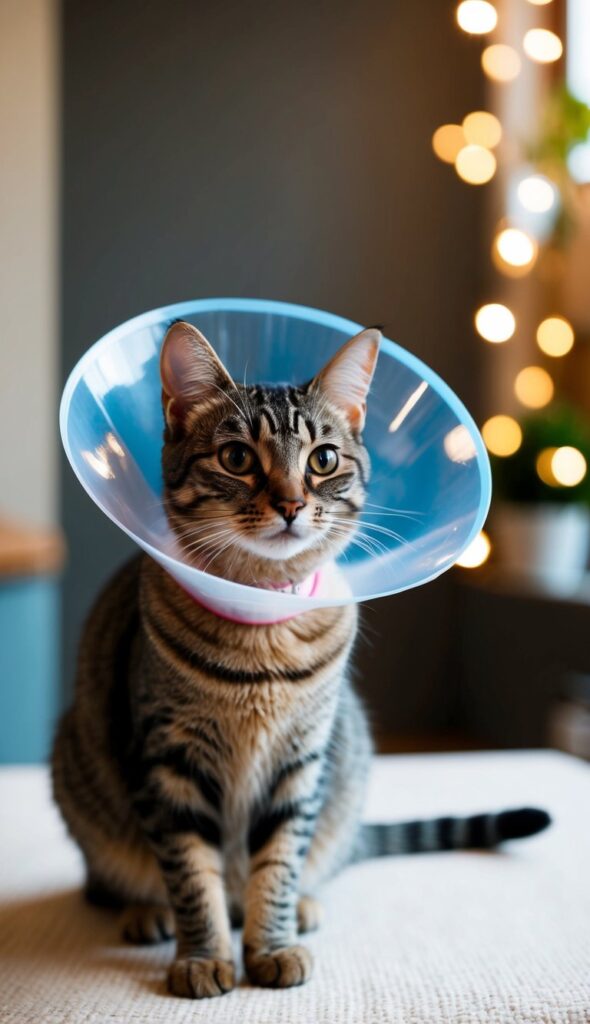
For cats who need visibility, a clear plastic sheet cone provides protection without obstructing their view. You can use a plastic file folder or sheet protector, cutting it into a cone shape. Attach Velcro along the edges to secure it around your cat’s neck.
This option costs around $2 and offers a more traditional cone experience but with the added benefit of transparency. It’s great for cats who feel stressed when they can’t see around them, and it’s fairly durable.
4. Foam Sheet Cone
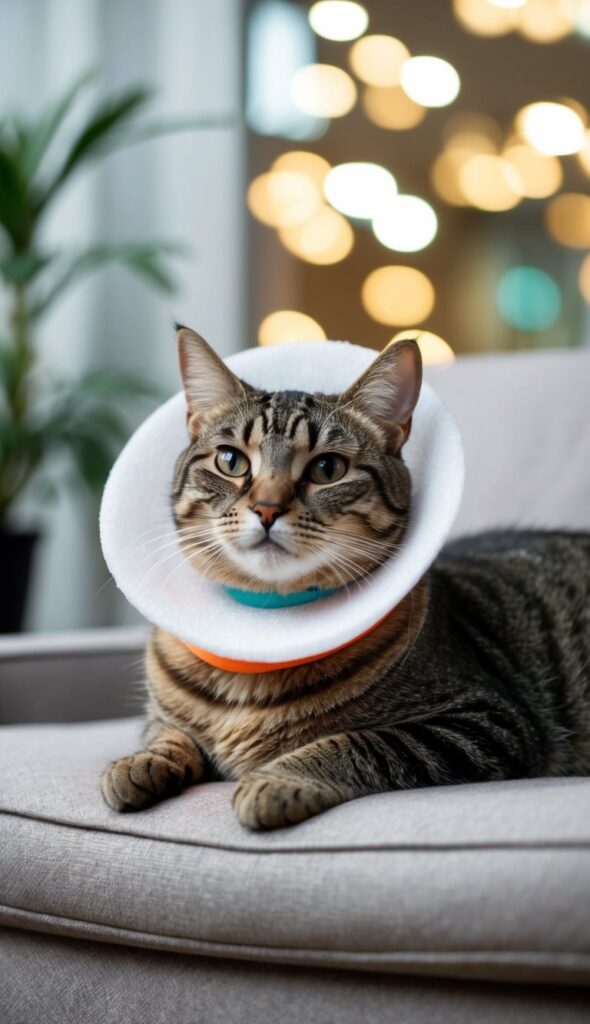
For a lightweight and flexible option, try using a foam sheet from the craft store. Cut the foam into a semi-circle shape and secure it with Velcro. You can easily add a fabric lining or even decorative stickers to make it fun.
The foam cone costs about $3, making it affordable and ideal for cats who need a softer, lightweight cone. It’s comfortable, flexible, and easy to wipe clean, which is helpful if your cat is prone to messiness.
Dos & Don’ts in Cat Cones
- Do: Ensure the cone is long enough to prevent your cat from reaching affected areas.
- Do: Use soft materials if your cat will be wearing the cone for an extended period.
- Don’t: Make the cone too tight; there should be enough room for two fingers to fit comfortably.
- Do: Monitor your cat’s comfort—if they seem overly stressed, try adjusting the fit or using a different material.
- Don’t: Leave the cone on without checking for irritation around the neck.
FAQs
1. Can my cat eat and drink with a cone on?
Yes, most cats can eat and drink with a cone on, but make sure it’s short enough to allow them access. Test the cone before leaving it on for long periods.
2. How tight should the cone be?
The cone should fit snugly but not tightly. Ensure there’s enough room to slip two fingers between the cone and your cat’s neck.
3. How long can a cat wear a cone?
It depends on the reason for the cone, but most cats wear them for a week or two after surgery. Check for any signs of discomfort, and give your cat regular breaks if possible.
4. Is it okay to remove the cone for short breaks?
Yes, supervised breaks can help reduce stress. Just ensure you’re keeping an eye on them so they don’t scratch or lick any wounds.
Creating a DIY cat cone has been such a handy solution for my cats whenever they need a little extra care. It’s gentle on them, easy on my budget, and lets me add a personal touch. Whether it’s for a post-surgery recovery or just keeping them from scratching an itch, these DIY cones make the whole experience a lot more comfortable. So gather your materials, get creative, and help your cat heal in style!