5 DIY Cat Carrier You Can Make Under $10
Having multiple pets at home, including curious cats who love to explore but dislike car rides, I know how essential a good cat carrier can be. Whether it’s for vet visits or short trips, a cat carrier provides a safe, enclosed space for travel, reducing their stress and keeping them secure. Making a DIY cat carrier is a fantastic way to create something both functional and customized for your pet’s comfort. Plus, if you’re like me, you probably have many of the materials already lying around, making this an affordable, creative project.
Do Cats Need Carriers?
Cats definitely benefit from having a carrier, especially when it comes to travel and vet visits. Unlike dogs, cats don’t enjoy being carried in open spaces, and without a carrier, they can become very stressed and even try to escape. A carrier gives them a contained space that feels like their own mini hideout, which can help them feel safe. Additionally, a carrier can be a cozy spot at home where they can relax, so they get used to it before any actual trips. The best part of a DIY carrier? You can control the softness, ventilation, and style to suit your cat’s personality.
DIY Cat Carrier: Step by Step
Making a DIY cat carrier involves some basic materials and a few simple steps. Here’s a straightforward guide to get started on a basic carrier that you can customize.
Materials Needed
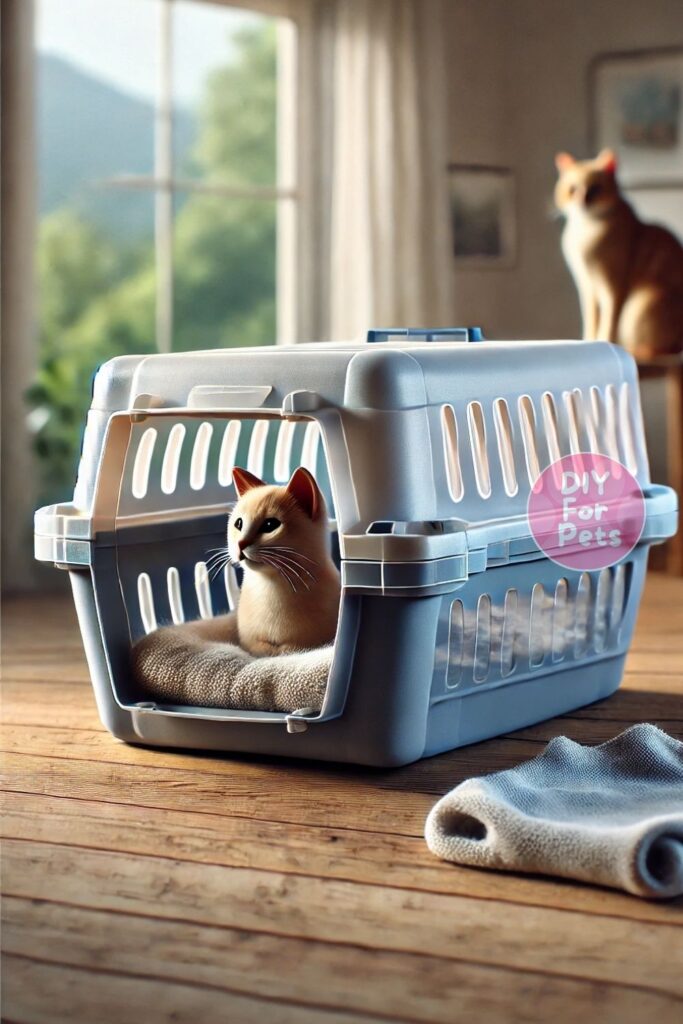
- Sturdy box, basket, or crate: $5–$10
- Soft blanket or padding: Already have
- Mesh or breathable fabric for ventilation: $2–$3
- Velcro strips or zipper: $1–$2
- Scissors and basic tools: Already have
Total cost: Around $8–$15, depending on the materials you have on hand.
Phase 1: Preparing the Base
Start with a sturdy base, like a plastic crate, box, or large basket that’s big enough for your cat to sit and turn around comfortably. Cut holes or use mesh to create ventilation if it’s a closed container.
Phase 2: Adding Padding and Comfort
Place a soft blanket or a folded towel inside to make it cozy and inviting. Cats love warm, soft surfaces, so adding a familiar blanket can make the carrier feel like home.
Phase 3: Securing the Top and Door
You’ll need a way to secure the opening, like Velcro or a zipper, depending on the design of your carrier. Ensure it’s easy to open and close without gaps that your cat could wiggle through.
Easy DIY Cat Carrier Ideas
Here are four DIY cat carrier ideas, each with its own unique style and functionality. These carriers are budget-friendly and designed to provide both comfort and security.
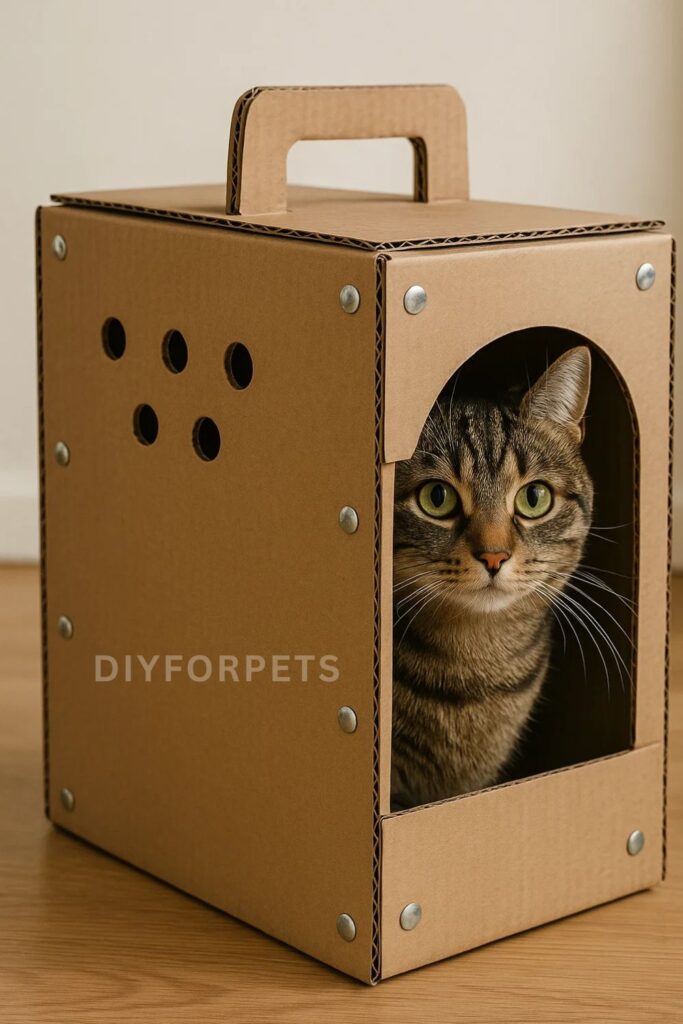
1. Reinforced Cardboard Carrier
If you have a sturdy cardboard box, you’re halfway to making a basic cat carrier. Choose a box large enough for your cat, then reinforce it with an extra layer of cardboard on the bottom and sides for added durability. Cut ventilation holes in the sides and tape or glue mesh or breathable fabric over them. Create a secure door using a flap cut from the box itself, then attach Velcro strips to make it easy to open and close.
This carrier is ideal for quick trips, costing around $5 if you need to buy some Velcro or mesh. It’s lightweight, easy to handle, and provides a cozy temporary space for your cat.
2. Laundry Basket Carrier
This carrier uses two laundry baskets that fit together to create an enclosed space. Place one basket on the bottom and cover it with a soft blanket. Then, use the other basket as a lid, flipping it upside down to cover the first basket. Attach the two baskets together with zip ties or Velcro strips along the edges. The mesh design of the baskets provides excellent ventilation, and your cat can see out, which may help reduce stress.
This option costs around $10 and is incredibly breathable. It’s easy to carry, and since it’s see-through, your cat can observe their surroundings, which can be reassuring.

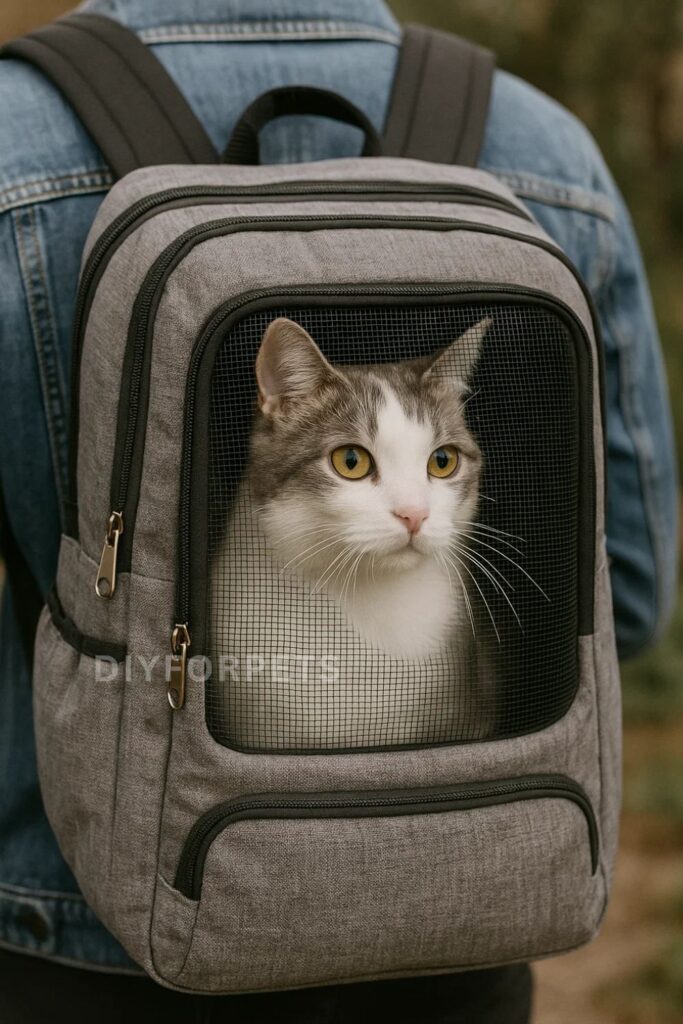
3. Backpack Carrier with Mesh Window
For a portable option, repurpose an old backpack by cutting out a section for a mesh window. Sew or glue mesh or breathable fabric over the opening, creating a secure window. Line the interior with a cozy blanket or small cushion. To keep the backpack from collapsing, add some lightweight plastic or cardboard panels inside for support. The backpack straps make it easy to carry, and the mesh allows plenty of airflow.
This idea costs around $7 if you already have an old backpack, and it’s perfect for pet parents on the go. It’s comfortable for both you and your cat, with the added benefit of looking pretty cool!
4. Plastic Storage Bin Carrier
A plastic storage bin with a secure lid is an easy DIY cat carrier option. Choose a bin that’s the right size for your cat, and drill ventilation holes along the sides. Add a soft blanket or cushion to the bottom, and consider attaching a small towel over part of the lid to create a bit of shade. You can secure the lid with clips or Velcro, ensuring it stays closed during travel.
This carrier costs around $8 and is durable and easy to clean. It’s perfect for car rides and offers a secure, enclosed space that keeps your cat comfortable.
Dos & Don’ts in Cat Carriers
- Do: Make sure there’s plenty of ventilation on all sides to keep air flowing.
- Do: Add soft padding or a familiar blanket to make the carrier cozy.
- Don’t: Use materials with sharp edges or hard corners that could injure your cat.
- Do: Test the carrier at home first to make sure your cat is comfortable with it.
- Don’t: Leave your cat unattended in the carrier for long periods, especially if they’re unfamiliar with it.
FAQs
1. How big should a cat carrier be?
The carrier should be large enough for your cat to sit, stand, and turn around comfortably. It doesn’t need to be too spacious, as a snug space can help them feel more secure.
2. How do I get my cat used to a carrier?
Start by leaving the carrier open at home, with a favorite blanket or toy inside. Let them explore it on their own before trying to close them inside.
3. Can I use a DIY carrier for long trips?
While DIY carriers work well for short trips, for long distances, make sure it’s secure, well-ventilated, and comfortable for your cat.
4. What should I put in my cat’s carrier for comfort?
A soft blanket, a small cushion, or a piece of your clothing with your scent can help make the carrier feel like a safe space for your cat.
Building a DIY cat carrier has been a fun and practical project for me, and it’s been so satisfying to see my cats feel at ease in something I made. Each of these ideas can be customized with materials you have at home, making it an affordable way to create a safe, cozy carrier. Whether it’s for a quick vet visit or just some training at home, these DIY carriers are sure to make the experience more pleasant for both you and your furry friend.